Farmer and I have made a lot of things for my garden. Usually it starts with me having a “brilliant idea” that I just can’t do all by myself … and ends up with him doing most of it himself while I take pictures and hold Munch. I keep telling him when Munch starts to walk I will be a better assistant, but I suppose someone still has to take the pictures right??
Well after countless yard, garden, and farm projects, I still have one favorite. It’s kind of silly that it’s my favorite when you think of some of the other elaborate projects we have done. But I still get excited every year when I get it all situated in it’s new place.
So I thought you guys might like to know how I (Ahem …. Farmer) did it, so that you can have your own rustic cucumber trellis for free.
Alright here is what your gonna need:
- 4 posts
- scrap fencing material (we used old cattle fencing)
- Nails
- Shovel
- Hammer
- Bolt cutters or something that will cut your fencing
- Twine or rope to secure the tops (optional)
First I want to talk about where to get these things. I live on a farm. With that, comes a plethora of free “junk” items. We have a huge equipment yard that family and friends have been depositing their unwanted items/farm equipment in for years. We also have a few shops full of tools and old building supplies. I was able to find everything I needed, right outside my house, for free.
[wp_ad_camp_5]
However! I realize this is not a reality for most people. Don’t despair, you can still have your cucumber trellis for free … or pretty darn close to it. But you will have to do some things that you might not be very excited about. Which is … ask people. Here are some ways I have got free or discounted things like this in the past:
- Know anyone with a junk pile or equipment yard? They are often full of things you can use that the owner would be happy to give or sell to you. Just ask your friend if you can look through their junk pile, and if you find anything you want, then you can determine how much you would offer to pay them. In my experience, people don’t accept money if your cleaning up their yard for them unless is a bigger item that’s worth some money.
- Look around your own place. Especially smaller items like nails, should be a little easier to find. They don’t have to look pretty. In fact, it kind of ads to the cool rustic farmhouse look if you use busted up or old items.
- Call around to your local feed and supply type stores. Ask them if they have the items you need, and then ask if they have any broken or damaged ones that you could purchase for less. This is much more effective if you go to a smaller business rather then a large chain. Big chain stores usually won’t mark down the price very much and they definitely won’t give you anything for free. But small town stores often have the owner available to ask on the spot, and they don’t have rules forbidding them from giving things to random people. One particular large chain store told me that it was literally against the law for them to give me the very item they were tossing in the trash out back. I have no idea if that is for real, but that is what the worker told me. Then she told me that if I waited a few minutes I could go get it out of the dumpster as long as she didn’t see it because then she would be required to report me haha. I did not do it, but now I know which store can’t give me anything for free! When I have asked smaller stores, I have gotten things everywhere from 10% off to completely free. One store a few weeks ago told me they didn’t have any at the moment, but he would call me soon because they often have damaged cattle fencing.
- Be aware when your out and about in the car. Again, I know that not everyone lives in a farming community, but that doesn’t mean people aren’t pulling out fences to replace them. All you have to do is ask. Most people are really nice and they will either tell you yes or no. I have never been chased off or threatened and I have asked for A LOT of things. One time there was an orchard being pulled out and I asked for some of the old poles (that time was a polite no). Another time, someone was pulling out railroad ties to put up a nicer fence. All I had to do was ask and go pick them up! Just this week I saw some wooden tomato cages in my neighbors burn pile and promptly texted to ask if she was going to burn them. She even brought them to my house!
My goodness are we to the instruction part yet?? If you need a visual, check out our YouTube video.
Now that you have your supplies, let’s get this baby built!
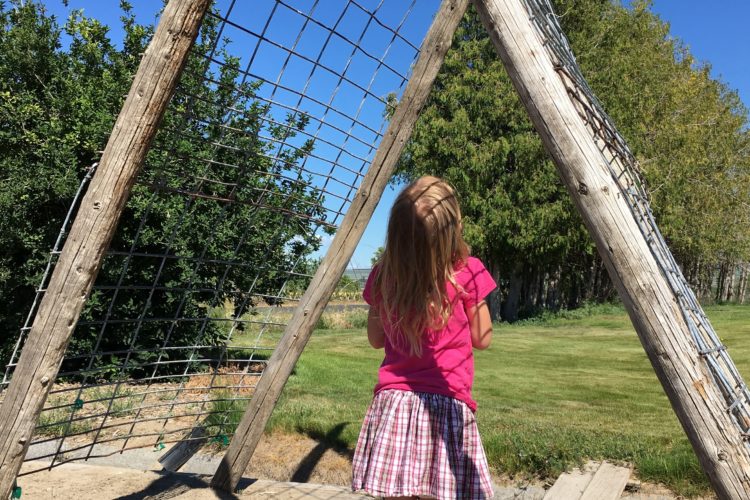
- Decide where you are going to put it, and how large you want to make it. This might depend a little on what size of items you were able to acquire. I placed my trellis over a pathway so I could walk underneath it. And I made it about four feet wide. I have 2 trellis’s and they are different sizes because of the fencing I had on hand. Cut up your fencing first and lay it out to make sure you know how wide to set your posts. I cut my cattle panels into four pieces that were each about four feet wide. Then I can stack two on top of each other to make my trellis tall enough to walk underneath.
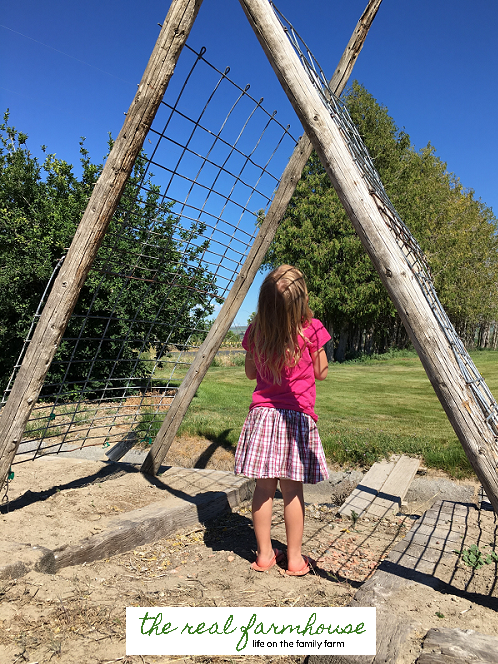
- Dig four holes where you want your posts. Make sure to dig deep enough that the trellis will be properly supported. But do remember that the trellis will be leaning against itself so that provides support too. I dug my holes about 12-18 inches deep and I have had no problems.
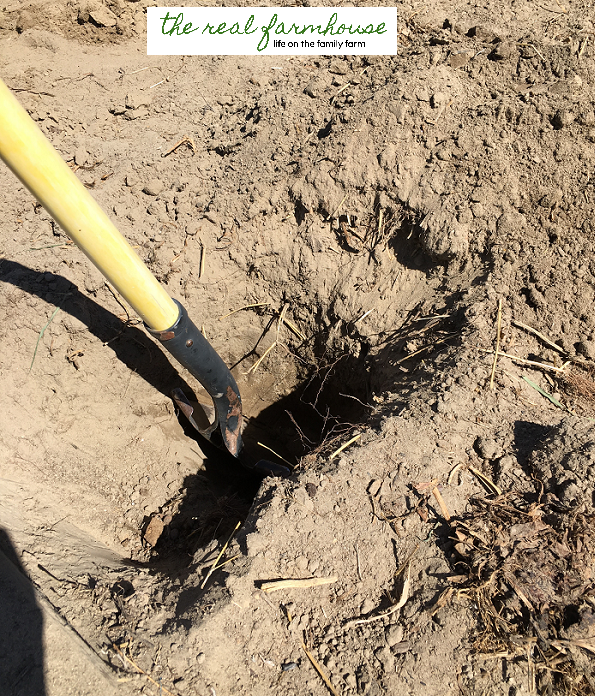
- Set your posts and back fill the holes so that the posts are leaning up against each other the way you want them. One of my trellis’s has much taller poles so they cross each other at the top and one doesn’t. You will tie these together at the end to secure them if they are tall enough.
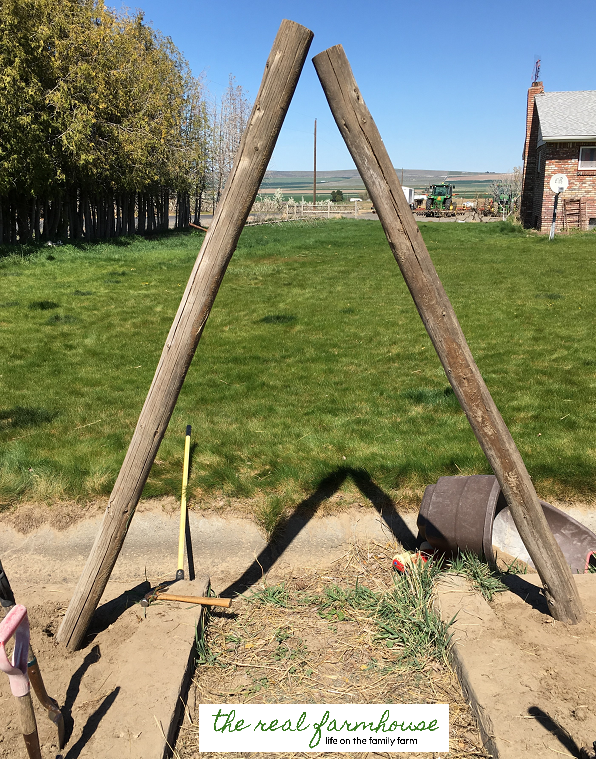
- Hold your fencing up to determine where you want it.
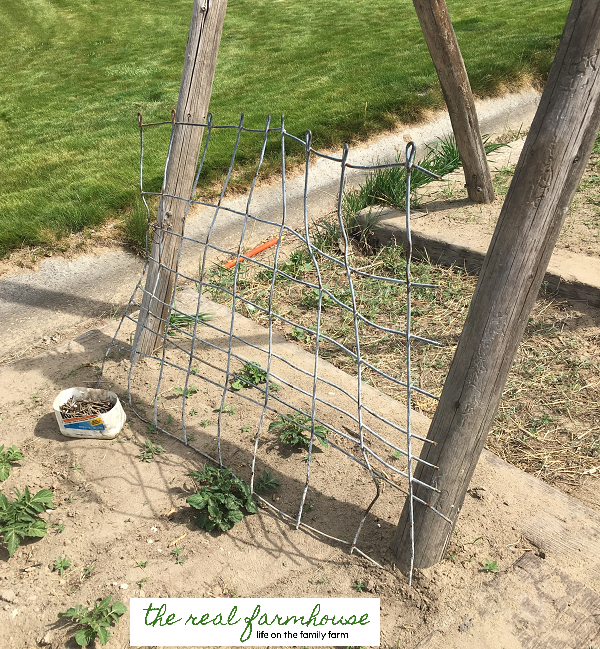 It’s a good idea to put the bottom of it several inches off the ground so you can reach your hand around and under it later on. Mark where the top of the fencing will be, set it of to the side, and pound a nail half way in on both poles at that mark.
 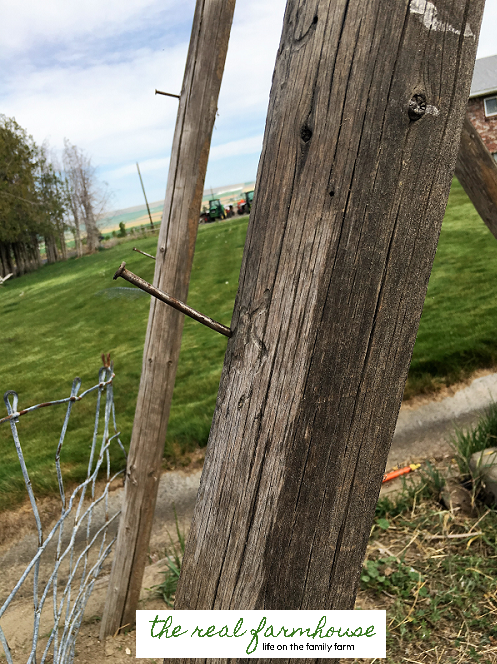 Then you can easily hang the fencing on the nails and you wont have to hold it up while you pound the nail.
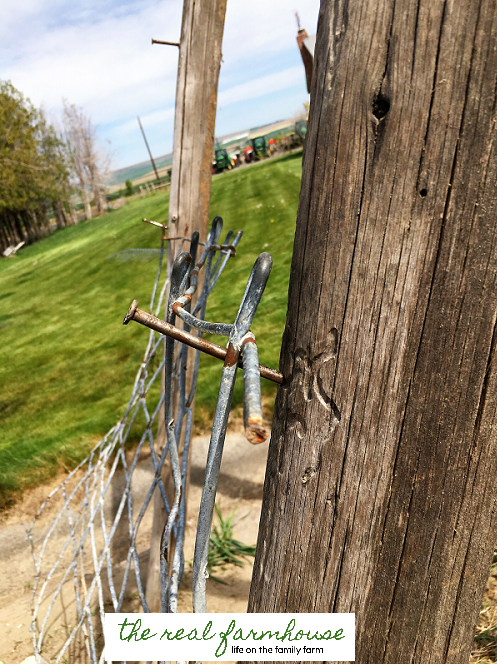
- Once the fencing is hung up, pound the nail so it curls over the fencing and hooks it into place.
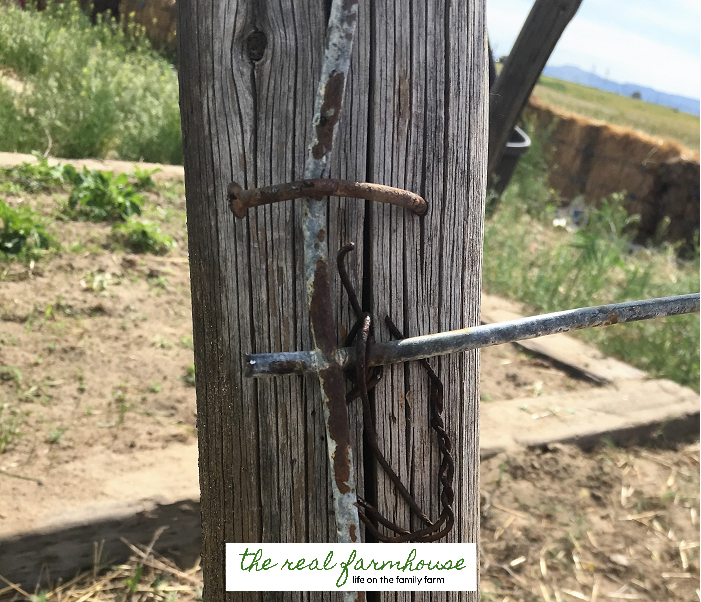 Then just pound a whole bunch of nails all the way down the pole, hooking them over the fencing to secure it properly.
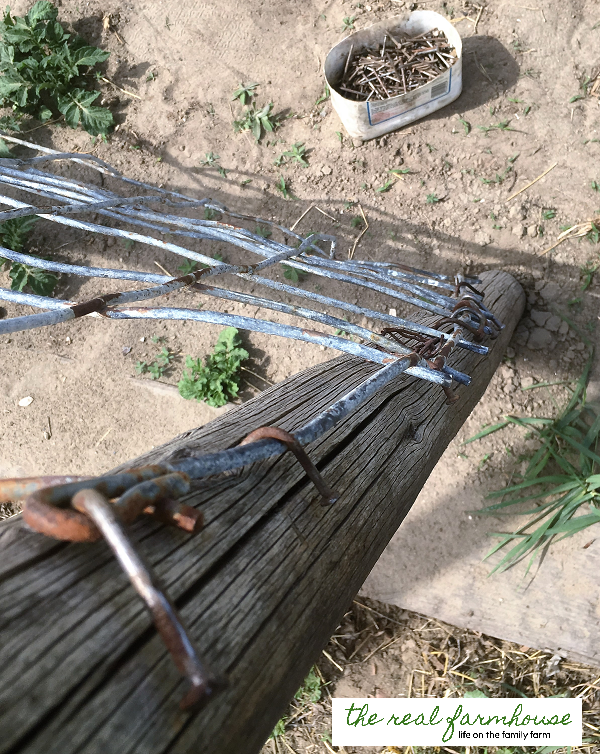 One section done, three more to go!
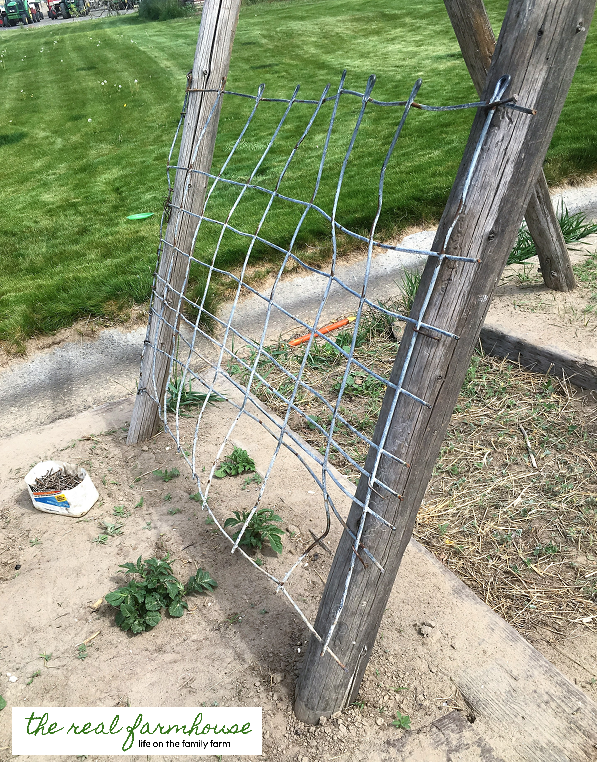
- When you have all four fencing pieces nailed to your posts, you can tie rope or twine around the tops to secure it together a little better.
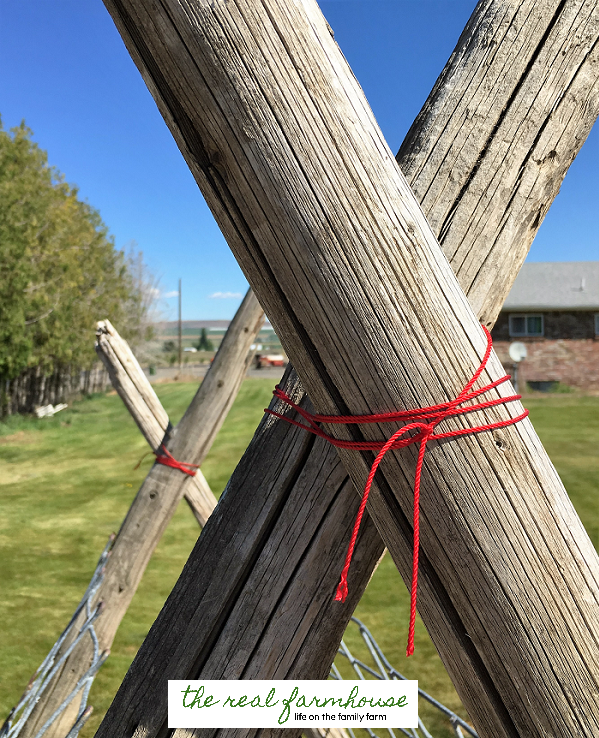
Now all you need to do is plant a bunch of cucumbers at the bottom, and in a few months you will have a beautiful trellis covered in lush cucumber plants just dangling their bounty there for you to pick easily. I love how easy it makes it to harvest my cucumbers. I also love that it holds them up off the ground so they aren’t sitting in the dirt getting dirty and growing into funny shapes.
A few more tips:
- If your selling your produce, you NEED a trellis to grow your cucumbers. The vegetables themselves will grow into much smoother and less damaged cucumbers that look pretty and unblemished because they aren’t laying on the ground.
- As the cucumbers grow, you will need to loop the plants through the fencing to train them to grow up your trellis.
- I move my trellis every year for crop rotation. Get somebody to help you carry the trellis and it won’t be a big deal to move it. Just dig your holes first, then you can carry it over and set it in one side at a time.
If you only do one garden project a year, do this one! I LOVE my cucumber trellis and the benefits just keep going and going!
If you like DIY projects, check out my DIY BEEFY tomato cage for only $6 video tutorial or enter your best DIY project into my DIY farm and garden contest. Hurry! it ends soon.
~Farmer’s Wife
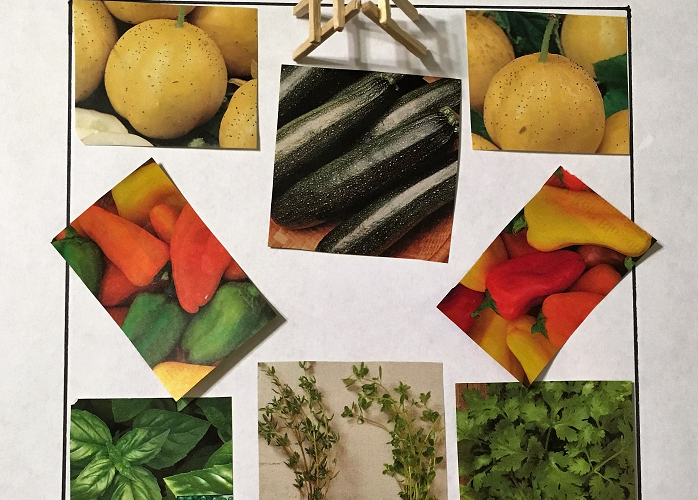

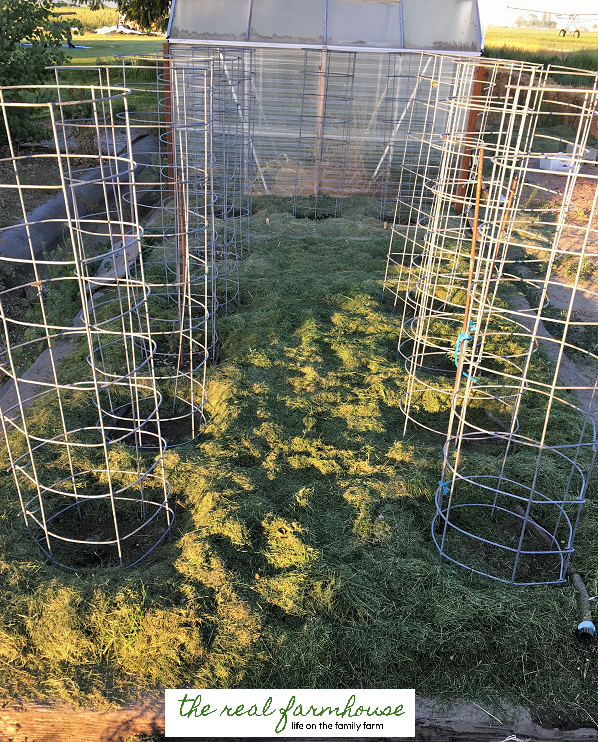
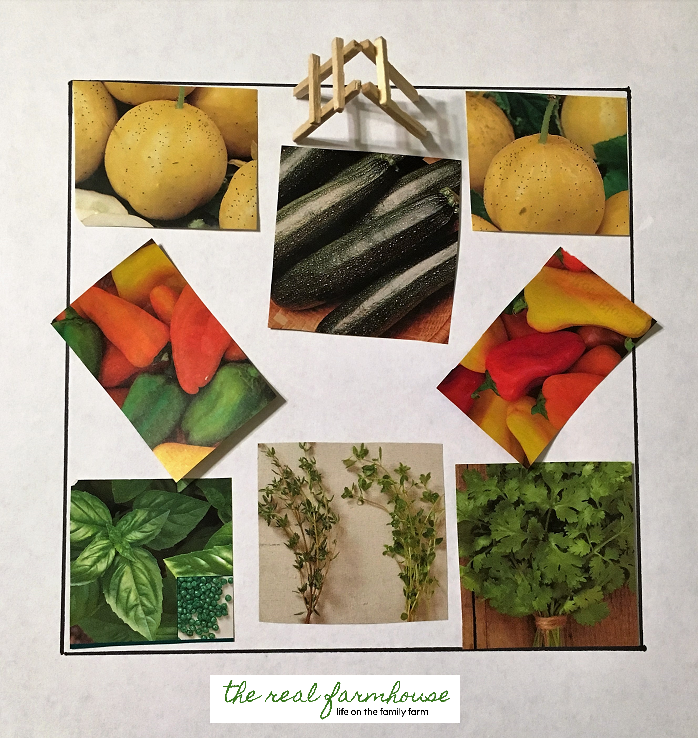
 Moving forward, I put 2 mini bell pepper plants on either side. The plants themselves are not mini, just the peppers. I love these because they are snack size and sweet. I almost never see them in my garden because Little man eats them all the instant they are ripe, but when I do they are a tasty treat! They save me $9 X 2 plants = $18
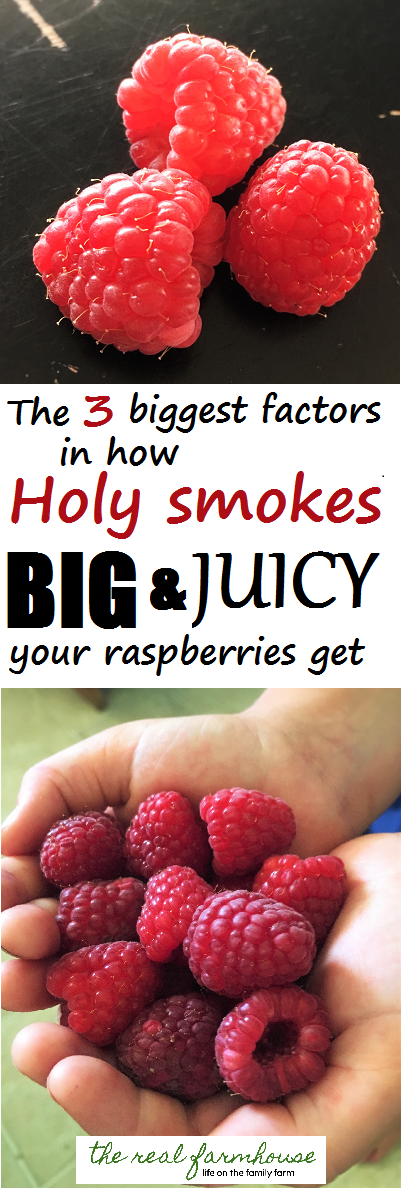
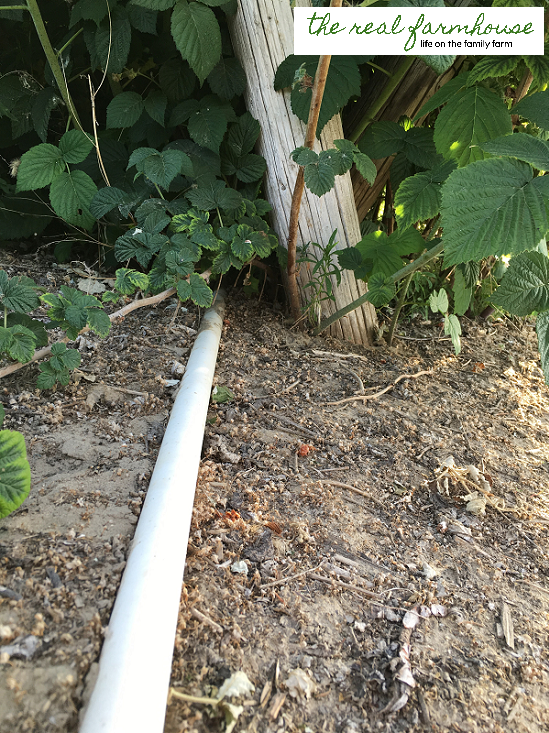

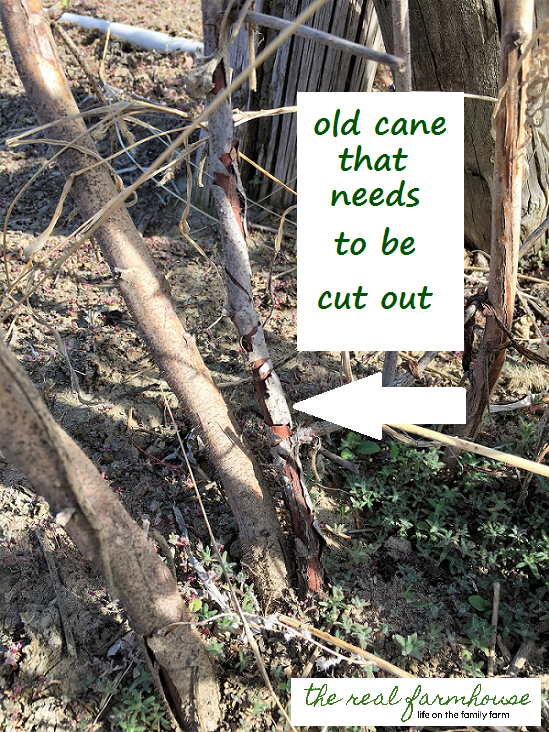
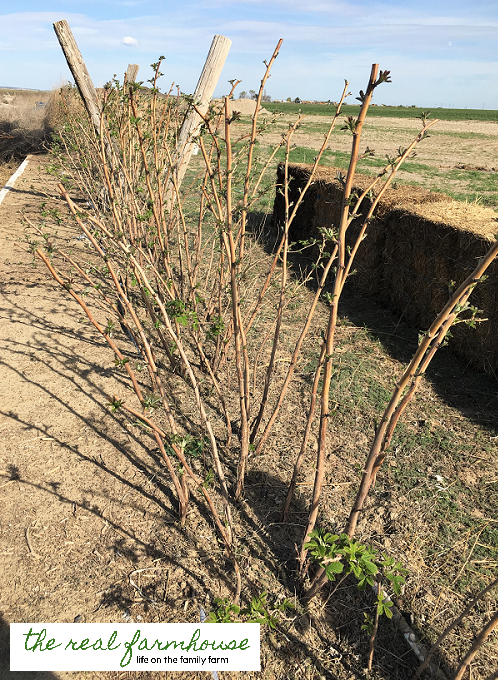 You also need to cut off all of the old canes (plants) at ground level because raspberries produce on the 2 year old canes. If you don’t cut out the old ones, then your plants will be putting wasted energy into growing something that isn’t giving you any fruit. It’s usually pretty easy to tell which ones are old, they start looking like sticks instead of plants. Here, I will show you what I mean.