
The front corner of my yard has been an eye sore for a few years. I had big plans to put a persimmon tree there, surrounded with all kinds of beautiful flowers and a few blueberry plants mixed in. Then we decided to start building our farmhouse, and anything that costs money got crossed off the list real fast.
So I had two choices:
- Try not to look at the eyesore, and hope everyone else driving by looked the other way too.
- Find a FREE way to landscape it.
Well I left it for awhile and tried not to look at it. But finally, I couldn’t handle it any more. I had to find a way to make it look better, and it had to be for FREE.
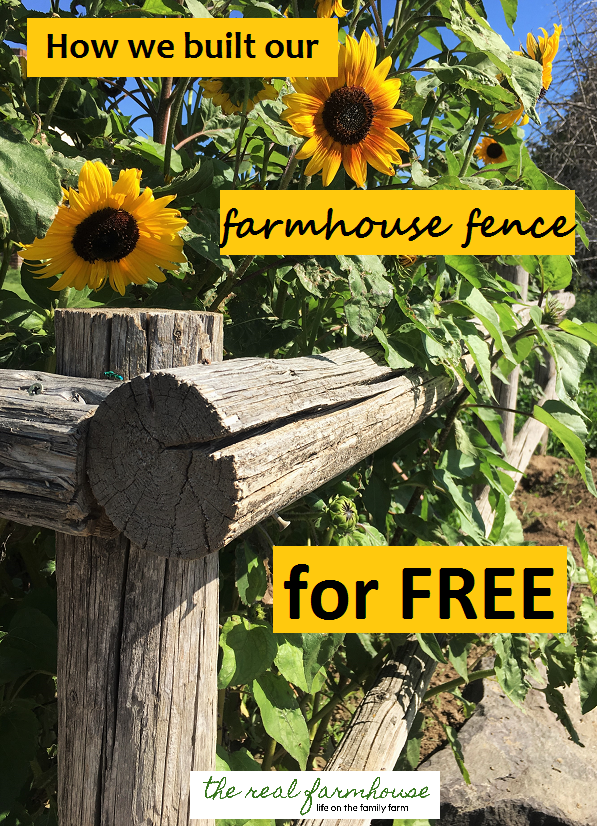
The first thing I did was start collecting posts to build a mini corner fence. I was able to find enough round posts of roughly the same size, laying around the farm. Farmer and I did have to search through a few junk piles and pull apart some old fences though. But hey, usually “free” means “you have to work for it a little”
We gathered all our fencing posts and rails, and built us a nice, rustic, repurposed fence in the front corner of our yard. Farmer even used old bent up nails we found in the shop, so the fence was truly FREE.
I wanted a simple, round, two rail fence. So we:
- Dug the holes 4 feet apart and 18 inches deep
- Set all the posts in their holes and back filled the dirt. We packed it down with the back end of the shovel REALLY well.
- Then Farmer cut the tops off the posts so they were all roughly the same height. He just eye-balled it because I didn’t care if they were perfectly level, this fence was going to be truly rustic.
- He marked the rails where they would meet up with the posts and notched out a little semi circle so they would hug the posts a little better.
- Then he help the rails up where I wanted them and pounded several nails into each junction.
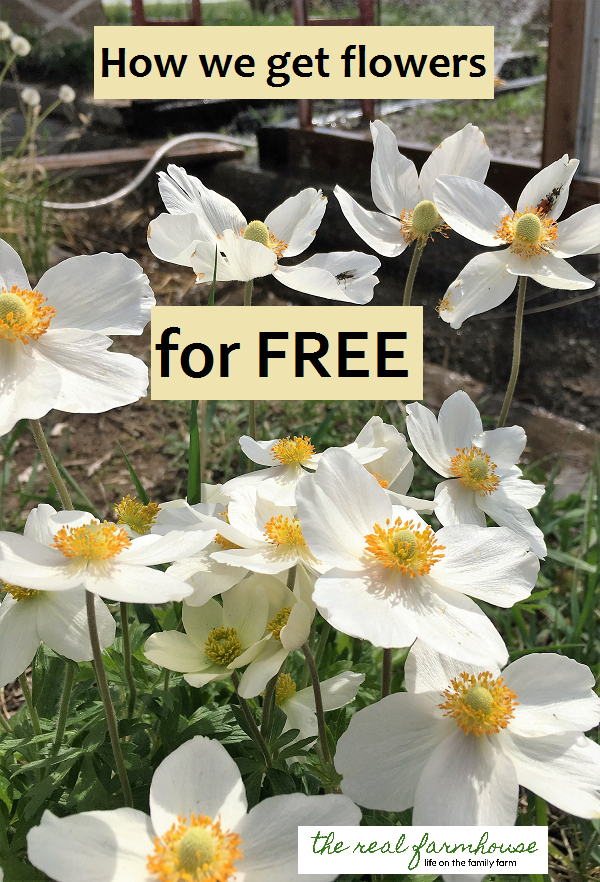
So I had a beautiful fresh dirt patch with a cute farmhouse fence, and no trees or plants to put in it. Well, whenever I need plants for FREE, I have a fall back plan. If I can figure out a way to use plants that my mother in law, my aunt, or one of my close friends have, then I can always go get a few starts. I am limited on what plants to use, but at least I can fill my space with something nice, even if it wasn’t my first choice. Some of the easiest one’s to transplant that I use all the time are:
- strawberries
- quaking aspen trees
- sumac trees
- ground covers
- daisies
- vines
- burning bush
- black eyes susan
- mint
- herbs
- willow trees
- morning glory
A word of warning though, the reason these plants are so easy to transplant or get starts from are because they spread. Some of these are even considered weeds. So before you go transplanting all kinds of things, consider how much they spread and the work it will require to keep them contained if you don’t have much space.
[wp_ad_camp_5]
In this case, I actually found something in my own yard that would work. It was a pleasant surprise to find a MILLION, okay maybe not that many, sunflowers popping up all over in my garden.
Sunflowers are just one of those plants that EVERYONE likes, right? They are huge, and beautiful, AND you can eat the seeds. Well they also happen to be very easy to grow, and even easier to maintain.
2 years ago, I planted a handful of sunflowers along the back edge of one of my garden boxes. I left them completely alone and let them go to seed. The next year, I had a bunch of pretty sunflowers to admire. Again, I let them go to seed. So this year, I had more sunflowers than I knew what to do with! It was awesome!
Then all of a sudden, I DID know what to do with them. Transplant them to the front corner of course! Instant curb appeal for FREE! And transplanting sunflowers is super easy.
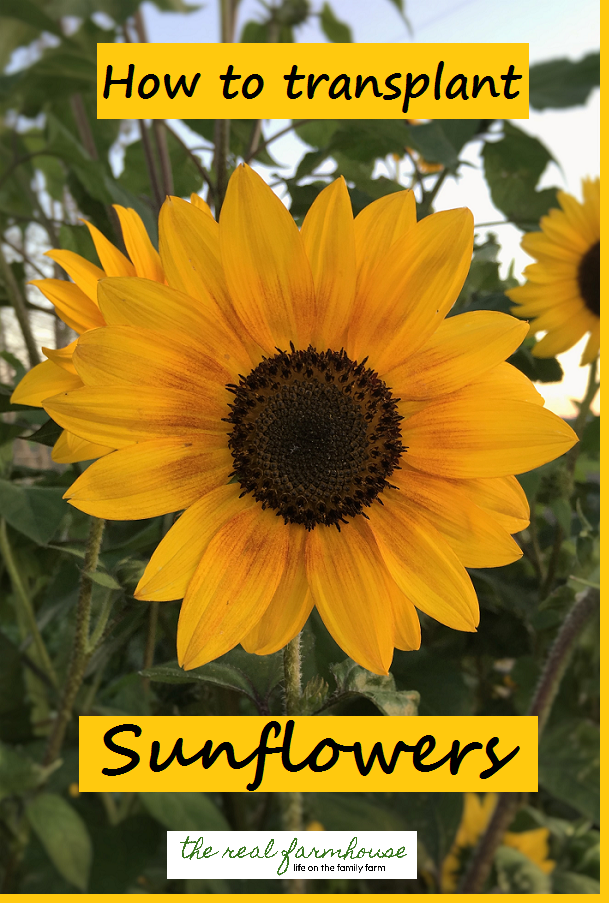
All you have to do is:
- Dig a hole where you want your new sunflower to be.
- Find a sunflower to dig up. The smaller it is, the quicker it will snap out of it’s transplant shock. Some of the big giant ones that I transplanted were very unhappy for a week or two.
- Dig a big circle around the base. The less you disturb the roots the better. Then lift it out of the ground with it’s huge dirt ball attached hopefully!
- Take it straight to it’s new home. Set it in it’s new hole, and press the dirt back in around the base.
- Water the heck out of it for a few minutes so it gets a good soaking. And your done!
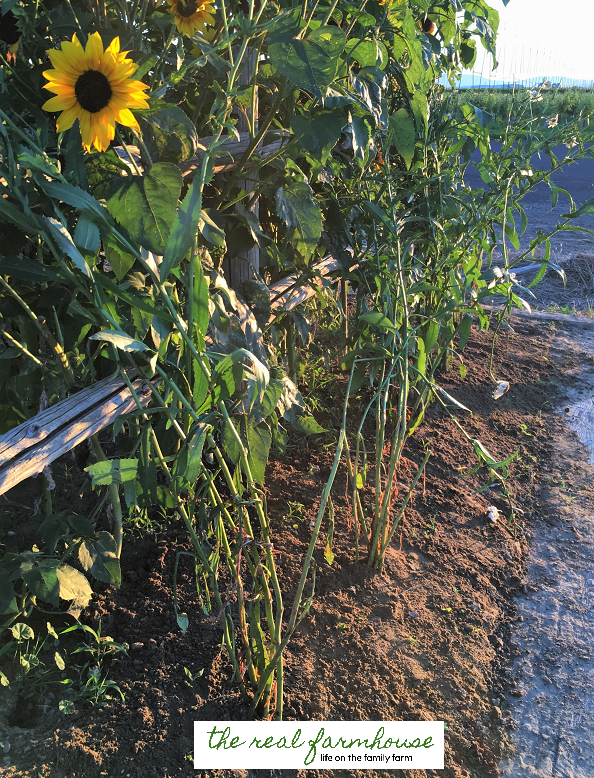
*Your plants will look sad for a few days. Some of them will look VERY sad. I even had a few laying down on the ground pouting. 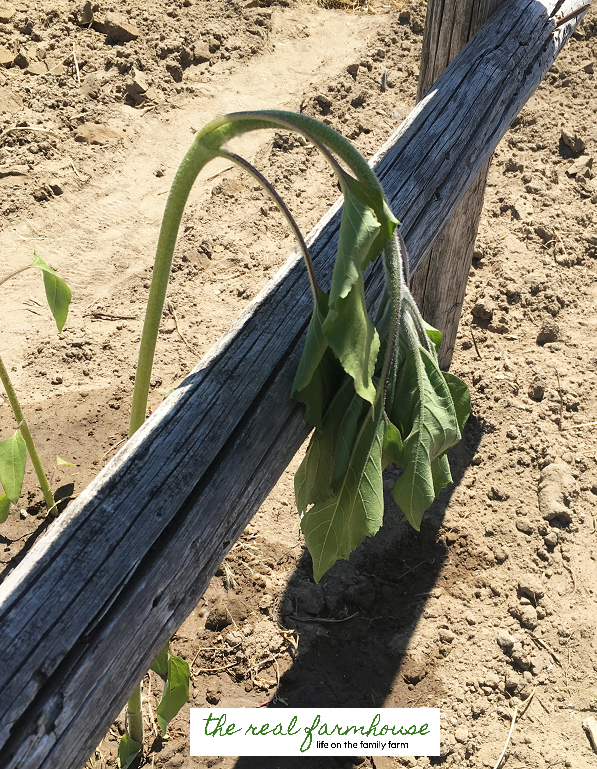 Don’t give up on them, give them a chance to adjust. Most of them will snap out of it and you can pull off any leaves later that completely died so they don’t look so unhappy.
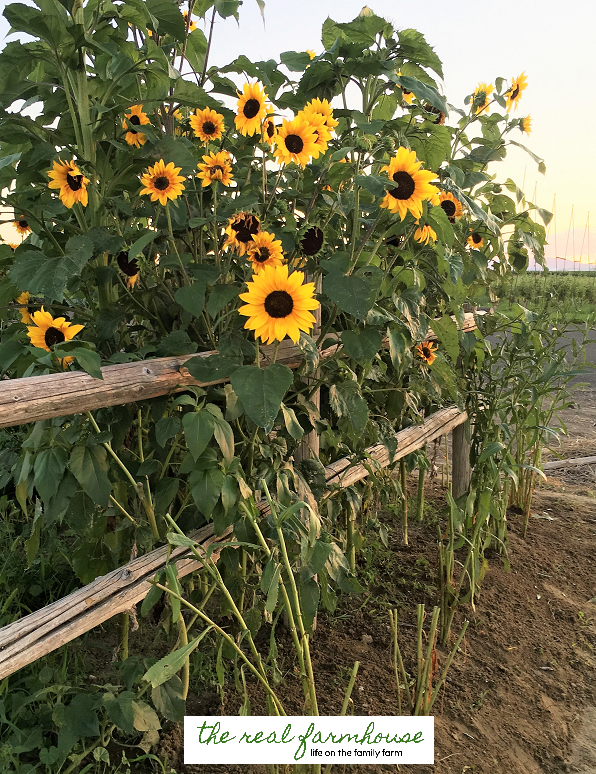
So after a few weeks of growing, we were at this stage ….
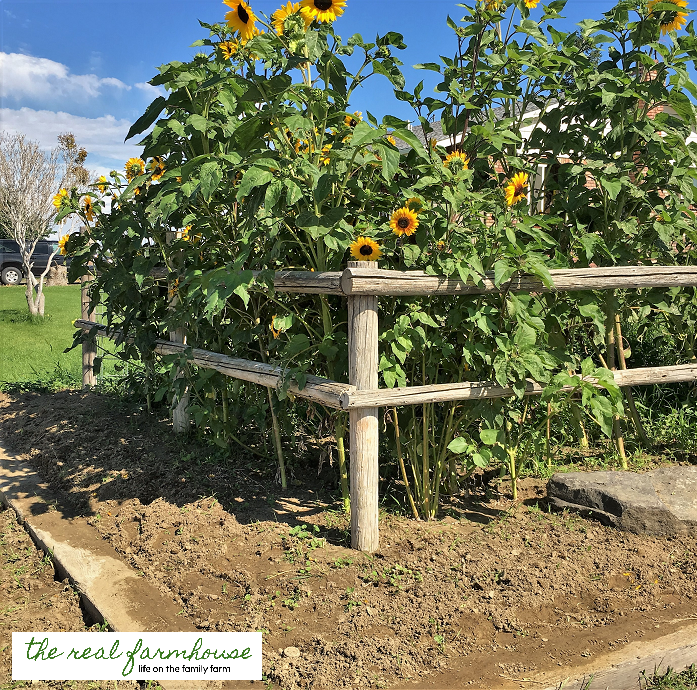
Looking very nice yes, but could use something else to really help it shine.
Then yesterday, an opportunity was placed in my lap. I love it when that happens!
Farmer and I went to a nearby town to pick up some windows I found on craigslist for our new greenhouse (coming soon!). The guy and his wife were super nice. We started talking about gardens, what else would I talk about right?? And they took us around back to show us their beautiful vegetable garden and orchard. Then she told us they were moving and she wanted me to take a whole bunch of plant starts because she knew I would take care of them.
Whaaat?!?! Yes!!!
So we dug up a whole bunch of huge, beautiful, established perennials, stuck them in boxes, and brought them home. I am talking like $200 worth of free plants guys! All because I started talking to someone about my passion for gardening. And then she told me to come back and get more before they move out next week.
[wp_ad_camp_3]
Now I just want to say that this kind of thing happens to me a lot! I mean like several times a year. It’s not some fluke thing that I get a bunch of stuff for free! It is because I talk to people about it, and I express my love for gardening. If you were to give something away for free, wouldn’t you want it to go to someone you knew would truly appreciate it? I get all kinds of things for free because I let people know how much it means to me.
Well, one of those plants that she gave us was a HUGE established daisy. 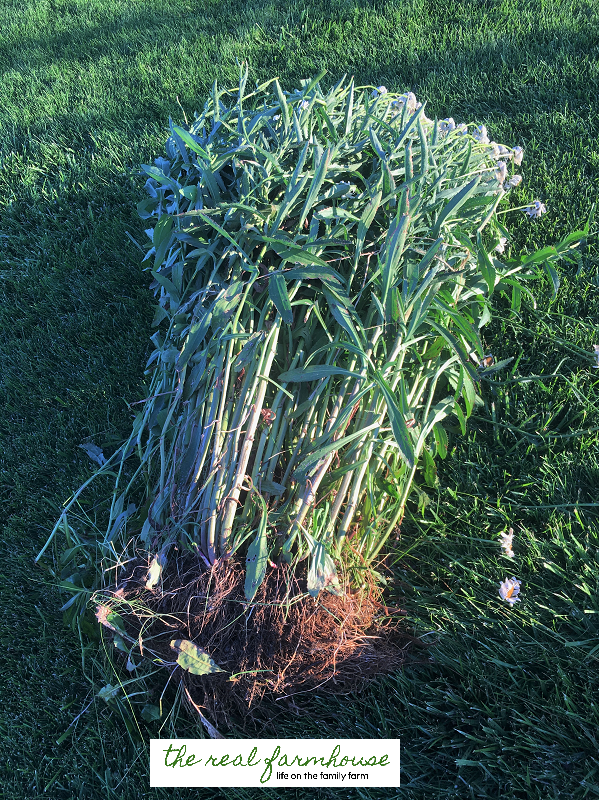 Daisies are one of my favorites and it just so happens that is exactly what I wanted out front with my cute little farmhouse fence. This one plant was so big I was able to separate into a whole bunch of smaller ones.

That sounds harder then it is … All you have to do is:
- Dig up a daisy plant. Try to dig wide enough that you don’t hurt the roots.
- pull the plant apart where it meets the root ball so that each portion still has some roots attached. It’s not going to want to separate! I used a shovel. As long as you aren’t hacking off all the roots then most of them will survive.
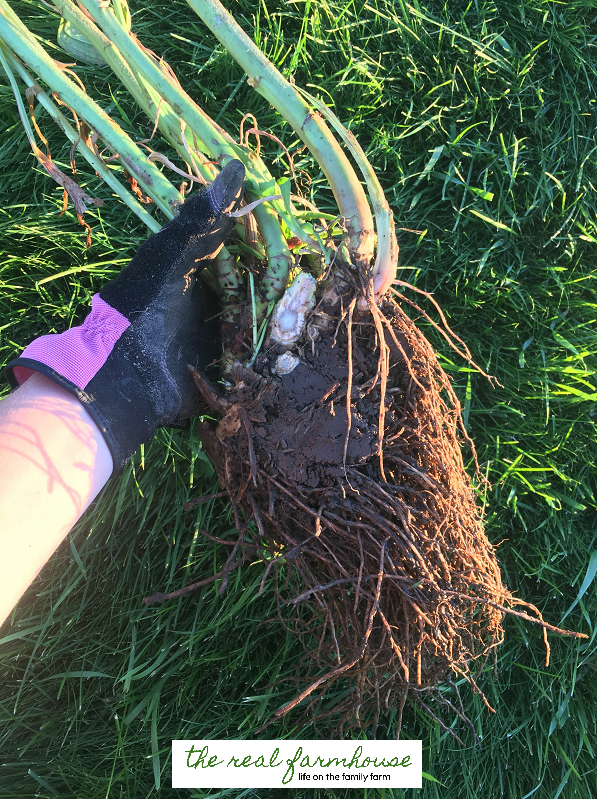
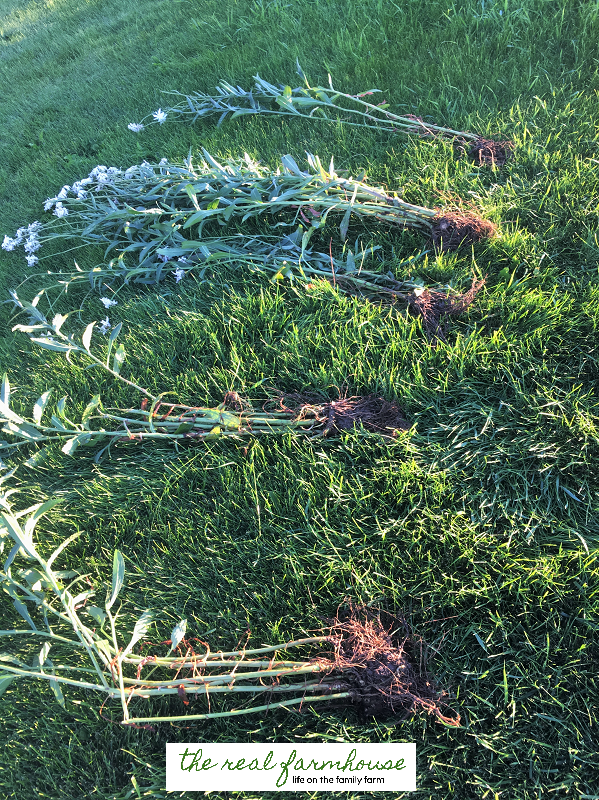
- Plant your new little daisy as soon as possible
- Soak the ground around it thoroughly
- cut off the top of the plant so it can focus on re-rooting itself in it’s new home. Here is a before and after picture of what I cut off.
You can even do that to a plant that is still in the ground. Just dig down on one side and pull some of the plant off. Then fill the hole back up with dirt.
[wp_ad_camp_2]
So now I have this beautiful corner that greets everyone that comes to The Real Farmhouse. It was completely FREE, and even if I do nothing but keep it watered and weeded, it will come back bigger and better every single year!
Do you like getting things for FREE too?? Find out How I get almost all of my produce for free RIGHT HERE. Or check out How I get unlimited shade trees for free RIGHT HERE.
Do you have any secrets on getting things for free?? Let’s hear them!
~Farmer’s Wife

Ok, I laughed out loud for real at those sad little plants! They really did look sad! And now they look amazing! My husband snagged some free monkey grass for me at the dump today and I’m more excited than I should be!
Ya they were pretty droopy, but you got to love free plants!