Organic is one of those things that I can’t decide how I feel about it. Maybe it is because I have known people who cheat the system and sell things as “organic” when it’s not really true. Maybe it’s because I don’t want to have to commit to all organic and sometimes I feel like it is all or nothing. Or maybe it’s because I have a few friends and family who are openly against it. But when it comes right down to it, I almost always go with the organic option when I have a choice in front of me.
Currently my garden is 100% organic. I make my own compost, I never spray for weeds or bugs, and I fertilize with my free range chicken manure. I want to spray for bugs, I really do because it would make things sooooo much easier … don’t hate me for saying that … but I just can’t bring myself to do it when my kids all eat straight out of the garden every day. There is no way that would be good for them, right?
Lucky me, we moved into a house a few years ago that had 2 established grape vines. One is a delicious little seedless table grape, and the other is an amazing smelling fat and juicy concord. All growing up, my dad told me that concords were the best for grape juice.
So because my parents taught me how to do it right, today I am going to pay it forward and teach you how to make your own organic grape juice.

You are going to need:
- organic grapes– if you don’t have any vines of your own, ask around. Grape vines produce a lot, and chances are, if you can find someone that has a few vines they have plenty of extra grapes. I have one concord grape vine and it gives me at least 10 jars of juice, even on a bad year.
- large bowl or tote– for picking your grapes
- a steam juicer– these things are so handy and they are quite possibly the easiest food preservation method I use all year. I have done grape juice, apple juice, and peach juice so far. Next year there will be at least three more added to that list because of how simple it is.
- canning jars, lids, and flats– you don’t actually have to can the juice, but seriously it’s easier to can it than it is to stick it in another container because it seals itself.
- hot pads
- a stool
- towels
- small saucepan
- a fork (or one of those handy dandy canning lid magnets so you don’t burn your fingers off)
And here we go …
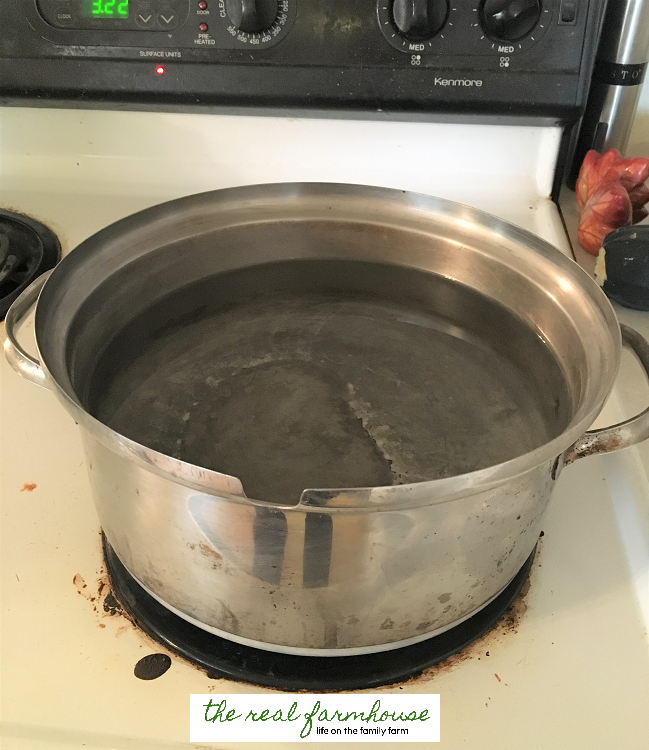
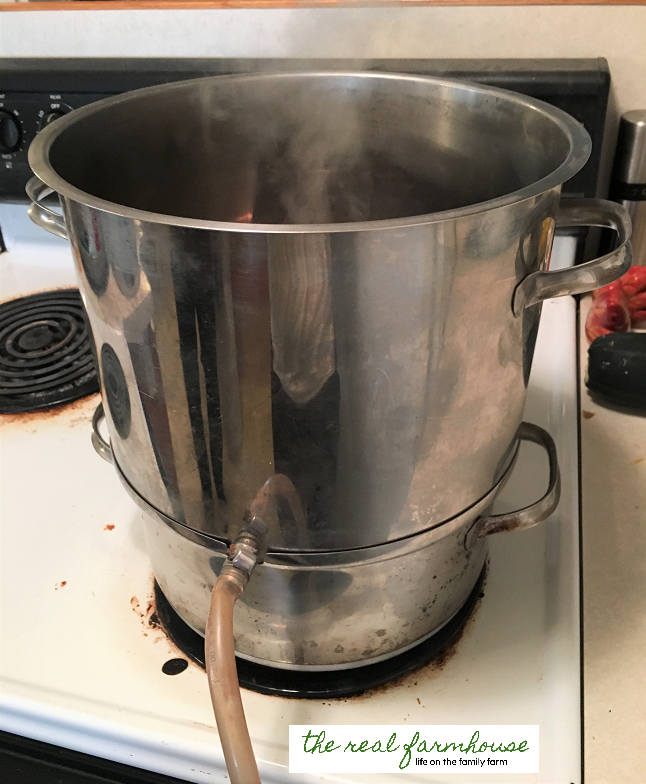
- Fill the bottom portion of your steam juicer 3/4 full of water. DO NOT LET THIS BOIL DRY. Got that? It ruins your steam juicer ….. ask me how I know that. You have to refill the water in between each batch of juice. Set it on the stove, and set the middle portion of your steam juicer on top. This is the part that will hold your juice after it drips out of your grapes.
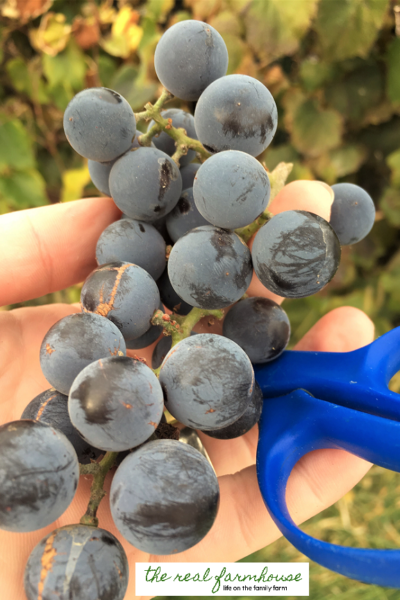
- If you haven’t already picked them, go get your grapes. Now here is the cool part about steaming grapes into juice … you don’t have to pick them off the stems! Unless you want to of course. Use scissors (definitely the fastest and easiest way to pick them) to clip off the bunches, and drop them into your bowl/tote.
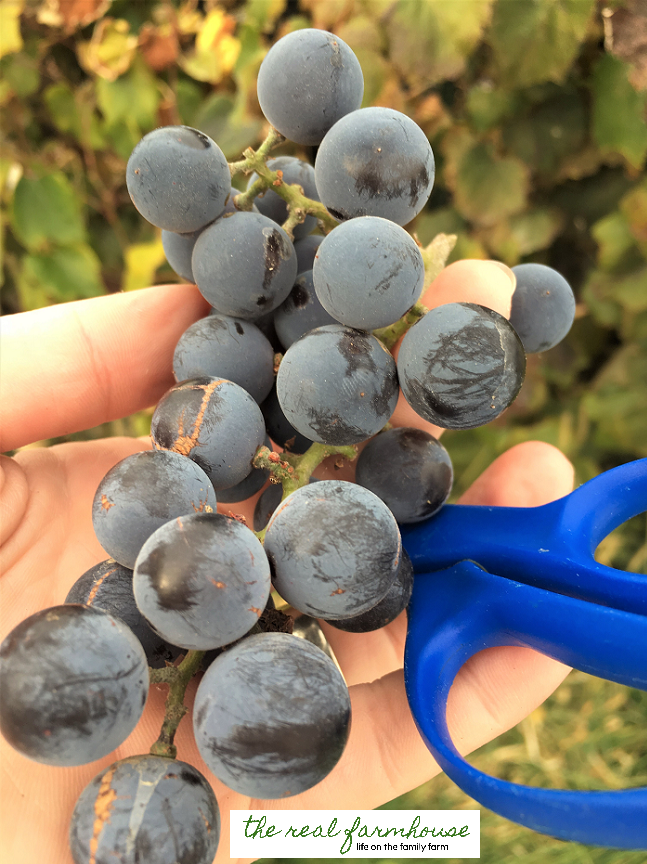 I use a big popcorn bowl and fill it heaped as high as I can, and it does about one batch of juice. If you pick the grapes off the stems, you will fit more into the juicer. That means you will end up with more juice out of each batch. However, it doesn’t hurt anything to leave them on the stems while you juice them. You won’t fill as many jars from each batch, but you will also save a ton of time and headache from picking off all the grapes. It’s up to you which one you choose.
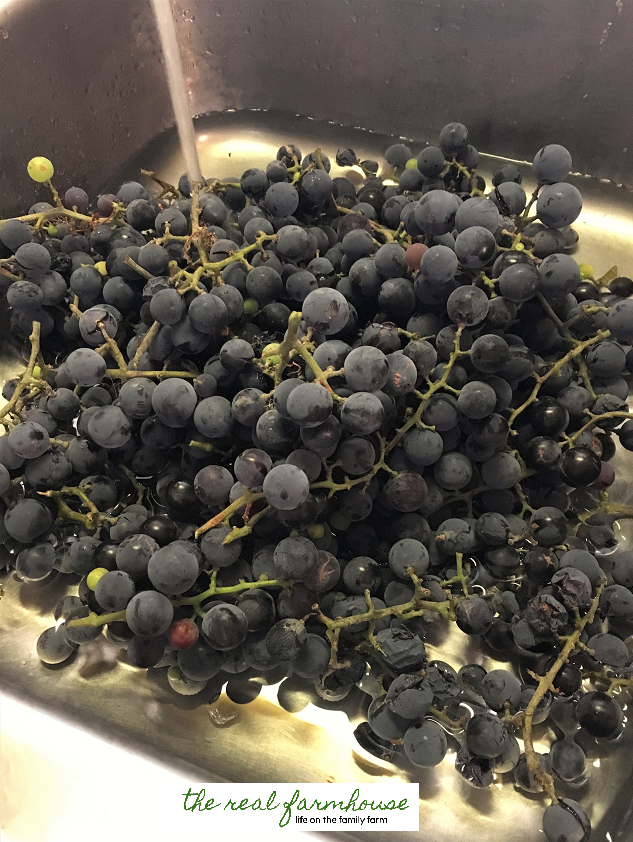
 - Put your grapes in the sink and fill it up with water. They are organic so they won’t need vigorous scrubbing, but they will probably have bugs in them. You can’t have your cake and eat it too, right? If you let them soak for about 15 minutes, all the spiders will die and float to the top. Swish the grapes around a few times so they are all submerged and you have suffocated all the little buggers. There is certainly the possibility that a dead spider might make it into the juicer in your grapes … but look on the bright side! Maybe it will add a little protein to your juice. At least that is what my dad always says. What I do know, is that it’s not going to hurt you if a bug or two makes it in there. If you are really worried about it, pick the grapes off the stems and wash them all again.
- Fill the top section of the steam juicer with grapes. They are going to shrink A LOT during the cooking process, so feel free to heap them as high as you can and just set the lid on top.
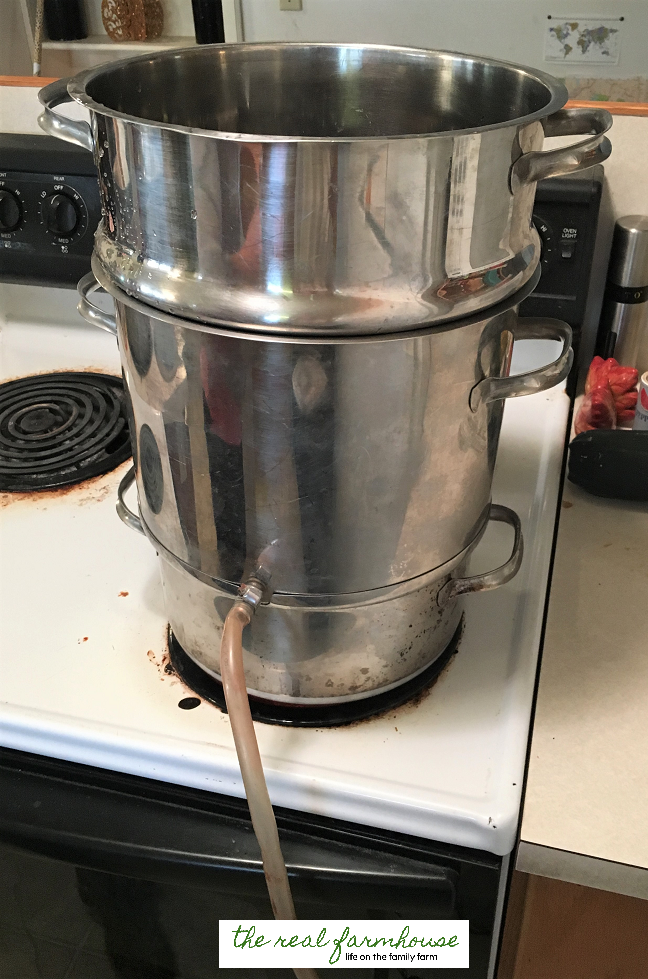
- Once you have all of your juicer sections on, turn your stove on high heat. Bring it to a boil, then turn it down to medium high. It needs to boil for about 1 hour.
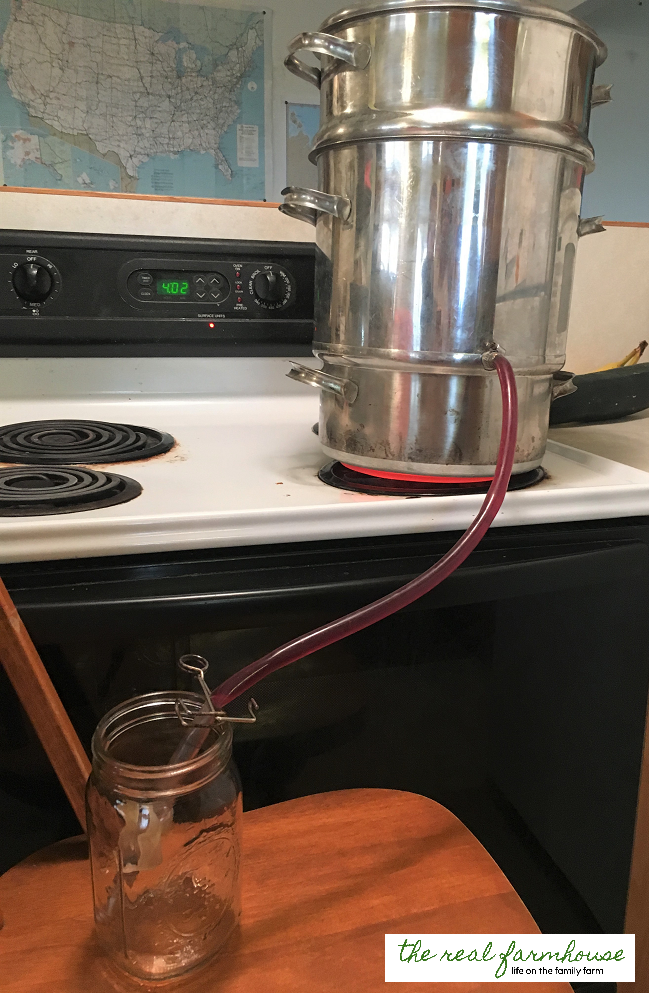
- Place a stool right in front of the stove with a canning jar on it. Put the end of the juicer hose inside the jar. This will catch any leaks that trickle out while the grapes cook. Make sure your clamp is pinching the hose closed or else ALL the juice will leak out.
- Prepare your canning jars. Wash them and put them in a 200 degree oven to warm. Gather your lids. Put a small saucepan of water on the stove to boil, and put your flats in it to sterilize and soften them up. Place a towel on your counter both next to the stove (where you will be working with purple juice), and on the counter (where you will put the finished jars to cool). This stuff stains big time! Protect your surfaces, and use towels that can be stained.
- When your grapes have steamed for about 1 hour, you can start to fill your jars. Using hot pads, take two jars out of the oven and set them on the stool. Sometimes I place a 9 x 13 pan or a towel underneath the hot jars so they don’t damage my stool. Carefully squeeze the clamp on your juicer hose to open it and let the juice flow out into your hot jar. This juice is boiling, be very careful!
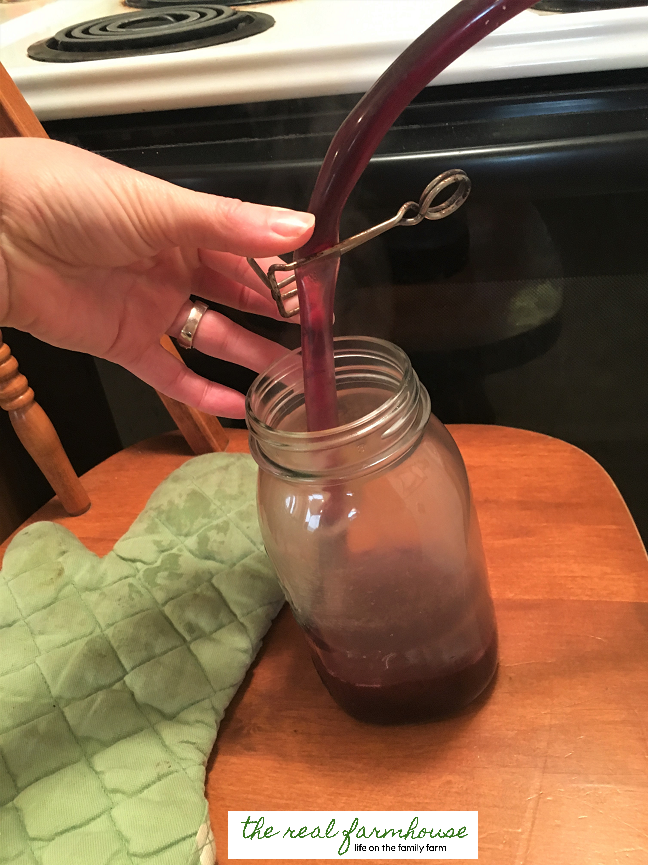 Fill the jar to 1 inch from the top, and place the clamped hose into the next hot jar.
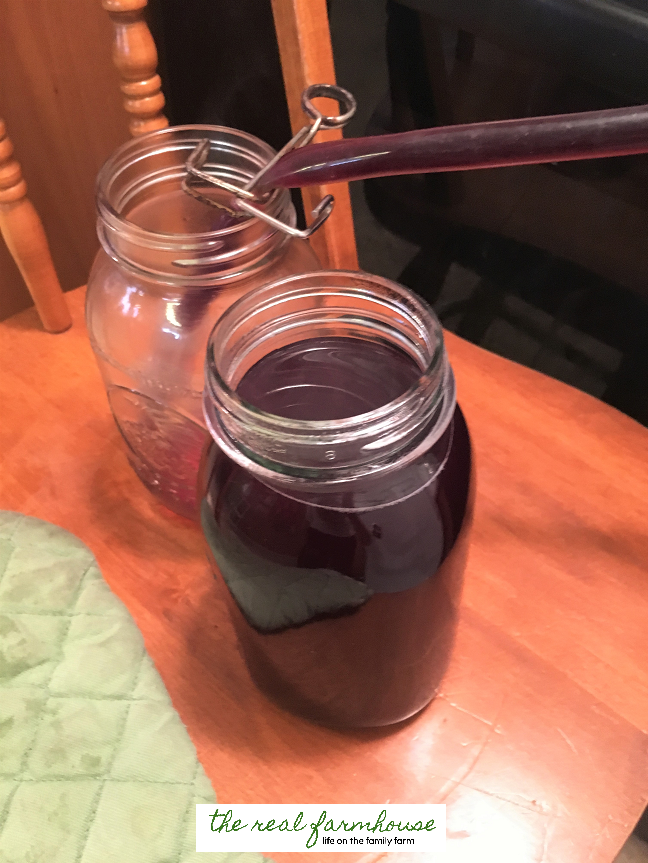 Remove a flat from the boiling water with a fork or a canning lid magnet, and set it on top of the filled jar. Use a hot pad to hold on to the jar while you screw on a lid. Set the jar out on the towel out of the way.
 - Grab another jar out of the oven, set it on the pan, and fill up the second jar. Continue step 8 until the juice quits flowing. Usually this is between 4 and 6 quart size jars.
If you do a second batch, be sure to fill the water back up on the bottom section. Dump the grape leftovers in your compost pile, and fill it up again with fresh ones. If ending with a partial jar is a problem to you, dump it back in the juicer a few minutes before the second batch is done cooking. It will heat back up to boiling and be part of your second batch.
It doesn’t hurt to let it cook a little longer than an hour. You may get a few more drops of juice if you are lucky.
After your jars have cooled for 12-24 hours, check them to see if they sealed, and then you can move them to storage. They will last for over a year, but mine never make it more than a few months because we love it so much we drink it all.
When we drink it, we usually dump it in to a pitcher and add about a half a jar of water and a spoonful or two of sweetener. Stir it up and enjoy. But I have a few friends that love it straight from the jar and undiluted. I also love to use it when I am cooking oatmeal. Pour some grape juice in and it changes the whole oatmeal experience!
My family takes their peanut butter and jelly sandwiches very seriously. Using homemade organic grape juice to make your own grape jelly is incredible. Just one more reason to fill your pantry with jars of organic grape juice!
~Farmer’s Wife


I’m curious if you know…we have canned grape juice this way for many years. We always have crystals form in he bottom of ours. They aren’t sugar crystals! From what I understand this is normal, but I’m curious why and what you can do to a vapid them. Thanks for any help!
Hi Deidre,
we get sugar crystals too. I honestly don’t know why it happens. We just dump our juice out carefully and leave the crystals in the bottom of the jar to toss out. Sorry I can’t be more help!