Fruit roll ups fly out of my house faster than almost any other treat. When we go to the store the kids beg for fruit rolls, and when I make them myself they are gone before I can even get them off the dehydrator.
I love them because they are good for my kids so I don’t have to worry about them eating 3 a day. They are also cheap and easy to make them myself especially when I can find the produce for free. CLICK HERE to see how I get pick up loads of produce for free.
Recently we have been experimenting with all kind of fun combinations. I even tried adding spinach to one awhile ago …. don’t do that …. just don’t.
But one that DID turn out delicious was the tropical pineapple apricot fruit roll ups. Apricot fruit rolls by themselves are pretty good, but when you add pineapple it totally changes them to a refreshing and surprising flavor. Top it off with a little stevia and there will be no puckering lips!
[wp_ad_camp_4]
So here is what you will need in order to make these delicious snacks:
- Dehydrator
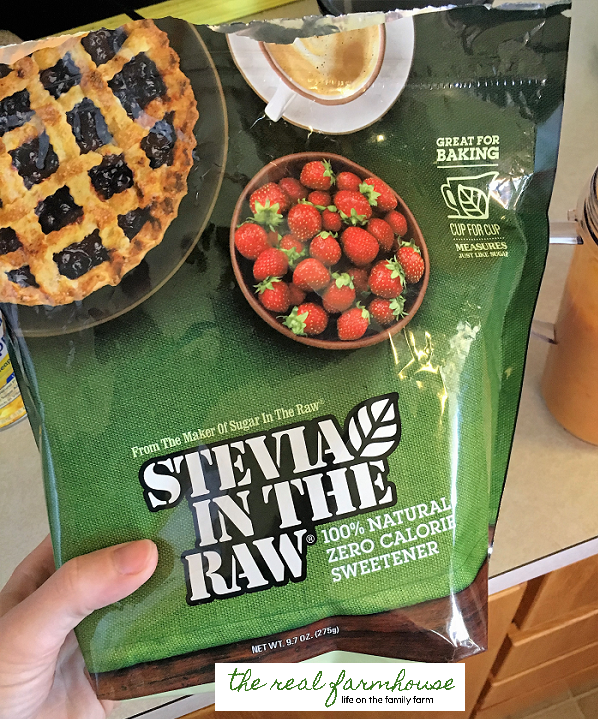
- Apricots, Pineapple (I used canned crushed), and stevia
- Magic Bullet or blender of some sort.
- Parchment paper, a cutting board, and a pizza cutter
A quick word about dehydrators ….
They are not all created equal. I have used my fair share of dehydrators and each one has been very different. Currently I am using three different “old fashioned” ones that were given to me by three different people. They all look like this, more or less.
I call them old fashioned not because they are old (one is actually brand new) but because the design and functionality of the new ones are a MILLION TIMES BETTER!
The Excaliber 3926TB will be the FIRST thing I buy as soon as we are done building our new house and have a few pennies to spare.
Even though I don’t own one myself, I have used a friends and I need to tell you the difference real quick ….
- The Excaliber has 9 removable trays so you can put big stuff in as well as small stuff. (Example: big bowl of bread dough needing to rise, extra thick jerky, large flowers, etc.)
- The Excaliber has the motor and fan in the back so it dries more evenly, and doesn’t get damaged when stuff drips on it while drying.
- The Excaliber has a timer. If you have ever dried food before you know how inconvenient it is to have to get up in the middle of the night to shut it off.
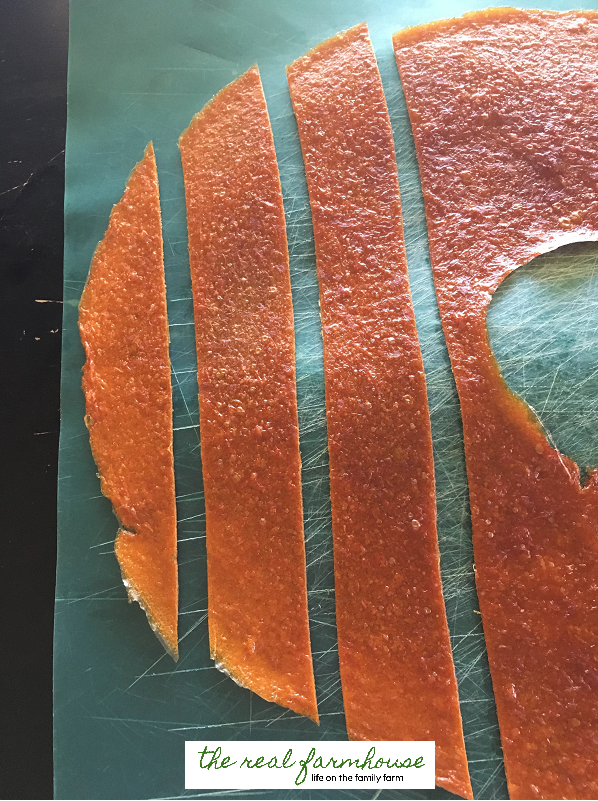
- The Excaliber has square trays instead of round ones! When drying fruit leather there is nothing more annoying then having to cut strips out of a circle with a hole in the middle.
- The Excaliber has a 5-10 year warranty depending on which one you buy.
- The Excaliber is way quieter then others that I have used.
If you are serious about drying, don’t waste your money. Get an Excaliber and you WILL NOT be disappointed. If you’re still unsure, just read ther reviews. They are overwhelmingly positive because everyone knows it’s the best dryer out there.
The Excaliber 3926TB with 9 trays and a timer is $248.98 if you click on THIS LINK. It will easily pay for itself in one season of drying if you use it regularly.
If that seems like too big of a chunk to bite off then check out the Excaliber 3900 which does NOT have a timer. It’s $198.86 if you CLICK HERE.
Alright, back to our instructions ….
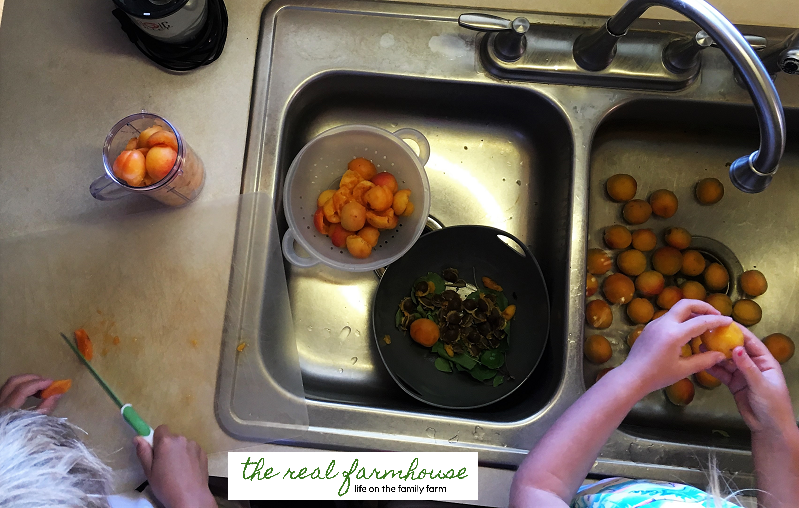
- Wash your apricots. Open them up and remove the pits. Cut off any bad parts and toss them straight into your magic bullet. Yes, this is so easy I assigned my four and six year old kids to make the fruit roll ups.
 I love my magic bullet because it purees way better then my blender and the container is the perfect size for exactly one sheet of fruit leather. If you don’t have a magic bullet, don’t worry, a blender will work just fine but you may have to leave it on for awhile to get all the chunks out.
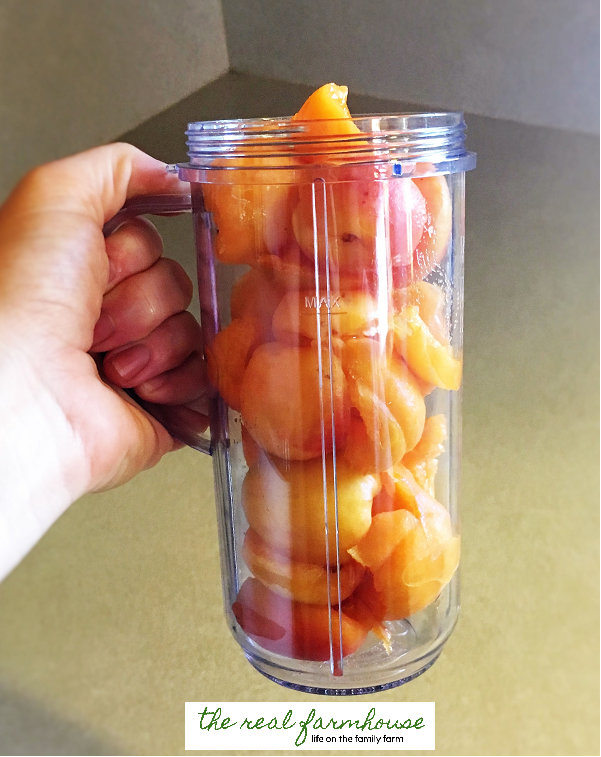
- Once your magic bullet is full of apricots, add your crushed pineapple. I added 5 heaping spoonfulls but you could add any amount you want depending on your preference. And I kinda squished it down in a bit, then put the lid on and pureed it a little.
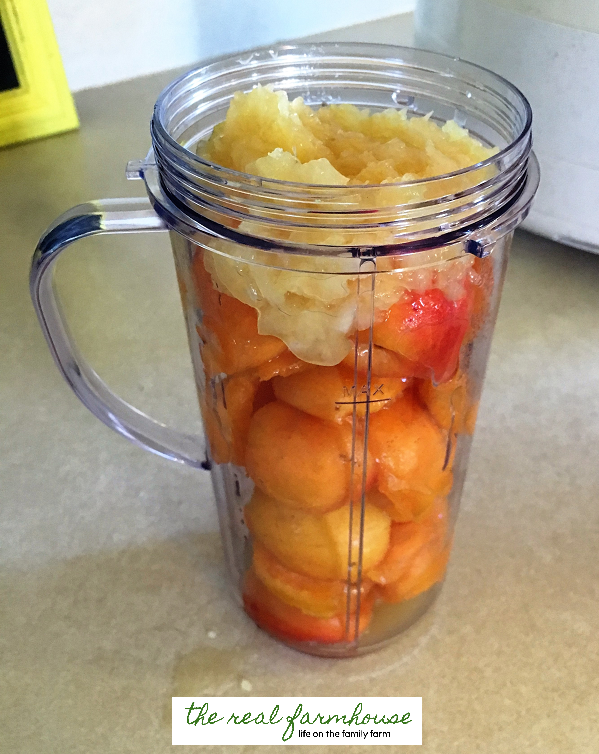
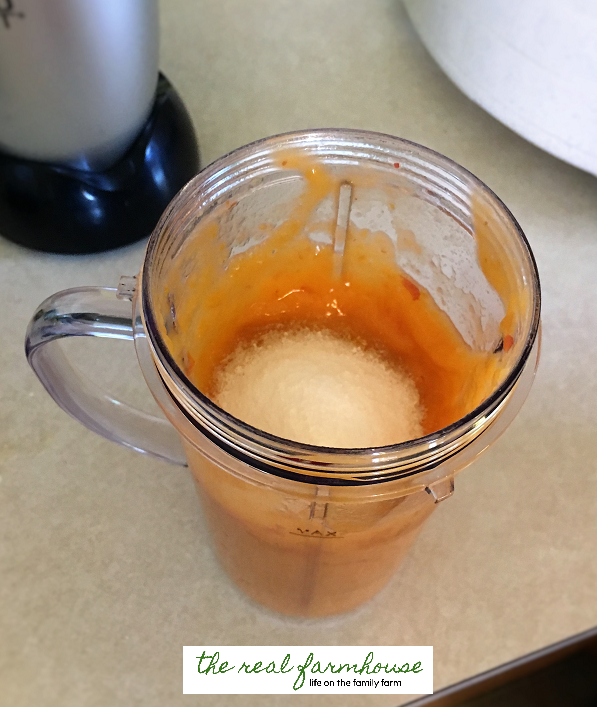
- Add the stevia. Again, how much you add is all about what you prefer. You could use regular sugar also. I add 1 tablespoon of stevia to this kind of fruit leather, but I don’t add any sweetener to most other kinds of fruit leather. Then put the lid on and puree it all together really well.
- Prepare the tray by wiping a small amount of oil on it with a paper towel. This will make it easier to get off when you’re done.
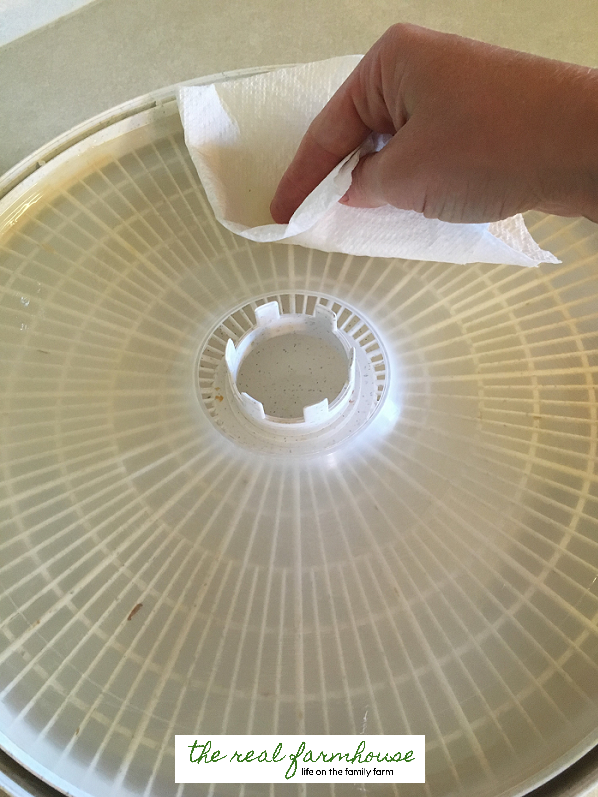 *You will need fruit leather inserts for your dehydrator. I have heard of people using parchment paper but I have never tried it myself so I can’t vouch for how that turns out. If you need inserts for your “old fashioned” round dehydrator you can find a pack of 2 HERE. And if you need inserts for your excaliber you can find a pack of 9 HERE. These are useful for other things too, not just fruit leather. Like when you dry powders or herbs.
 - Pour your puree evenly onto the sheet. Smooth it out a little with a spoon so it’s as even as you can get it.
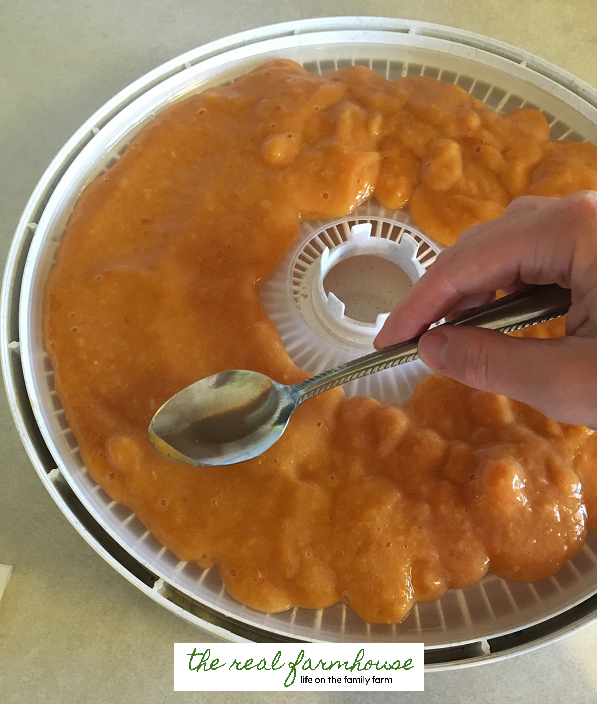
- Fill all your trays the same way and turn on your dehydrator to 135 degrees F
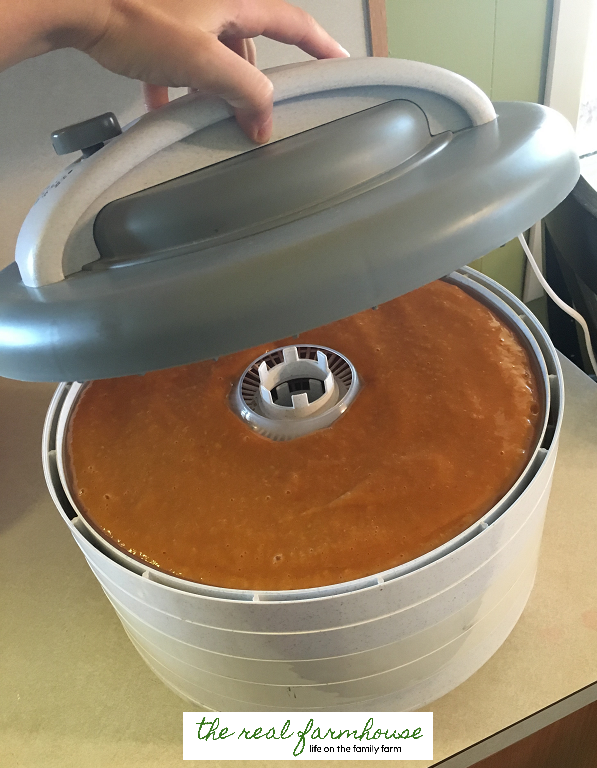
- Now I can’t really give you an exact time to cook it because every dehydrator is a little different and ever person likes their fruit leather a certain way, but I dried mine for about 10 hours. I rotated the trays after five hours because you have to do that on the round kinds. Check it every couple of hours and you can determine how dry you want it. You want it to be firm enough to not rip apart but not so dry that it is crunchy and brittle.
- Let it cool just a little and then take the fruit leather off. Do it slowly to prevent ripping it.
- Lay it on a cutting board and use a pizza cutter to slice it into strips.
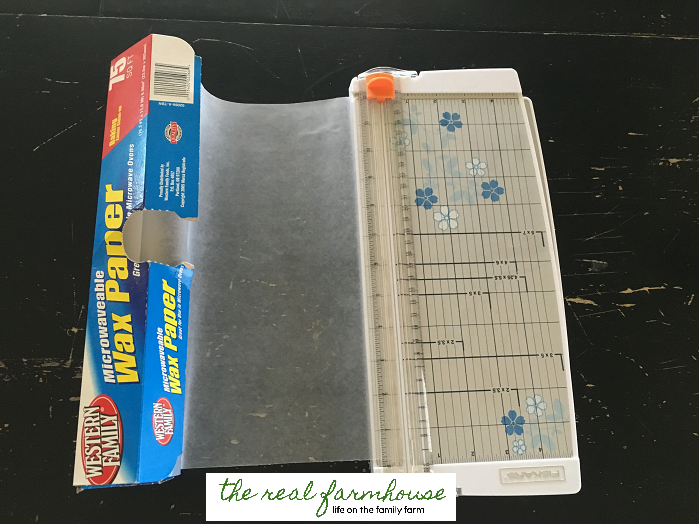
- Cut your parchment paper into strips roughly the same width as your fruit leather. You can use scissors, but it’s WAY faster to use a paper cutter and they will all be the same size.
- Lay down a piece of parchment paper, then a strip of fruit leather on top,
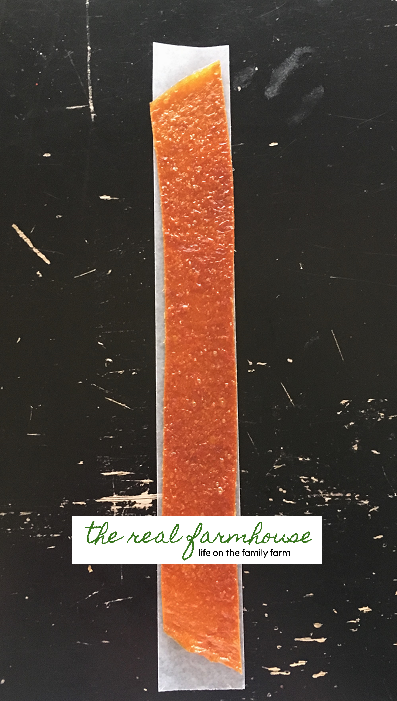 and roll it nicely into a “fruit roll up”.
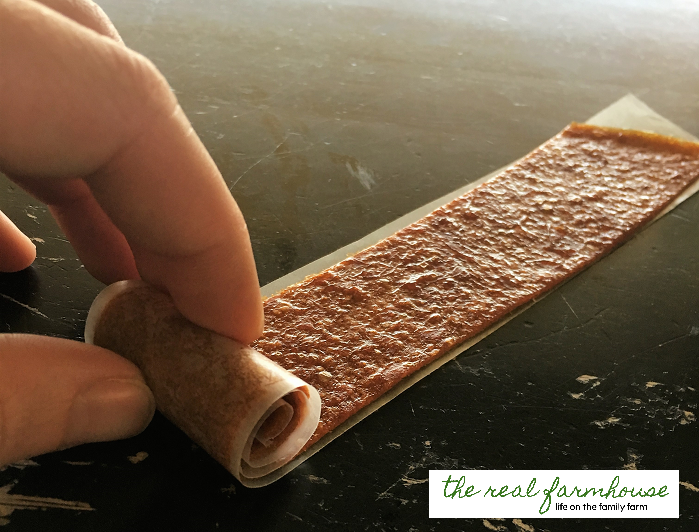
- Store them in the fridge if you won’t be eating them in the next few weeks. However, I do prefer them at room temperature because they get a little crunchy when they are cold so keep that in mind. You can also put them in the freezer for long term storage.
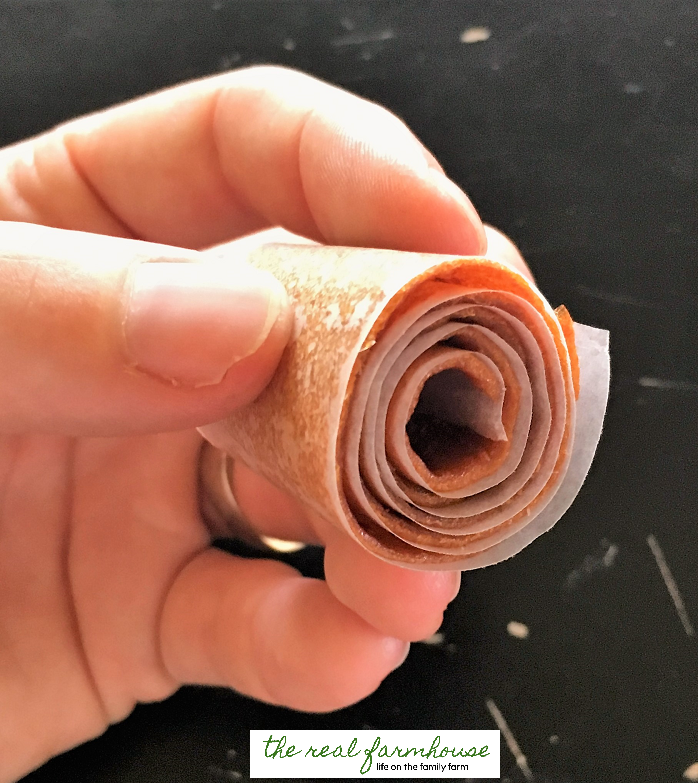
These are the perfect kid snacks for on the go. They are healthy, easy, and cheap. Enjoy!
If you’re interested in preserving then check out How to can incredible raspberries in 4 easy steps. They are my absolute favorite canned food!
~Farmer’s Wife
