
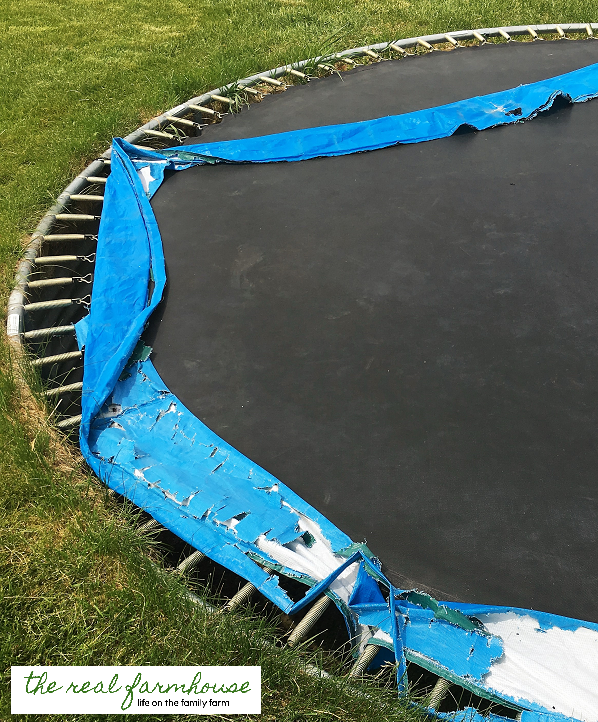
You know when something gets SO beat up and old that it’s embarrassing whenever anyone comes over. You see that tiny change in expression on your guests face when they have noticed something truly awful but don’t want to say anything? Ya …. that’s how our trampoline pad has been for the last ….. oh 6 months or so. I actually can’t believe it hung on to our trampoline for so long, it was just a shred of it’s former self. Clearly not doing us any favors.
We live in a very windy area, but I had still hoped that our pad would last longer then it did. Especially since we buried our trampoline. Which, by the way, was the BEST thing we could have done! I LOVE LOVE LOVE having our trampoline in the ground ….. another time, another post.
Today I am going to share with you how I replaced our old shredded up trampoline pad with an incredibly good looking DIY version that is sturdy enough for the kids to stand on.
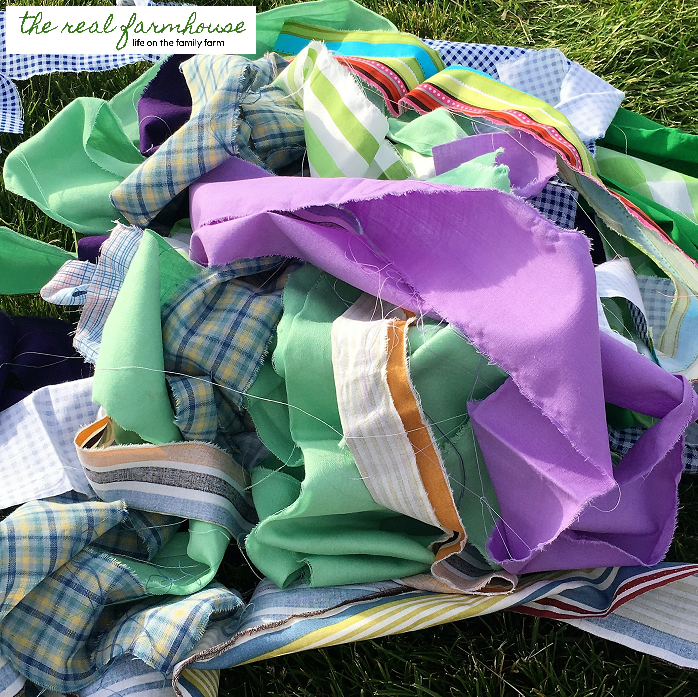
It’s made out of nothing more then scrap fabric! I seem to have this problem where whenever I go into a thrift store my cart magically fills up fabric scraps, so everything I used was old fabric that I already had. It made for a pretty cheap DIY project. If your not a fabric hoarder like I am, just make a trip to the thrift store and clean them out of everything they got. The one by my house sells their fabric for like 25 cents a yard. Your going to need a lot but luckily they can be any size.
- First, I removed the old pad. All it took was a few snips with the scissors and it was all set for the burn pile.
- I gathered all my scrap fabric together that I wanted to use.
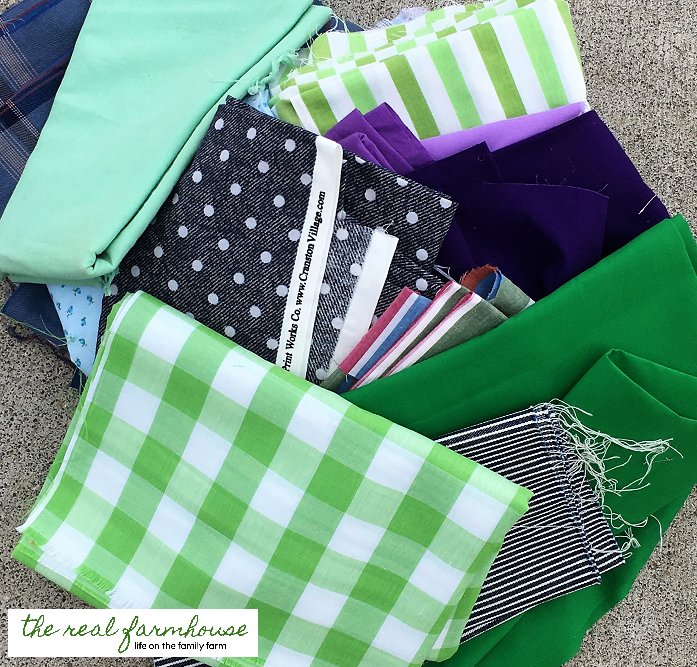 I kind of like to stick to blues, greens, and purples in my yard …. just personal preference, but you can do anything you want. I would recommend darker fabrics over light ones simply because it’s outside and they will get dirty.
 - I hauled all my fabric plus some scissors and four kids outside to the trampoline and got to work. I grabbed a piece of fabric and snipped it every three inches or so (you could do any width you like) and passed it to the first kiddo.
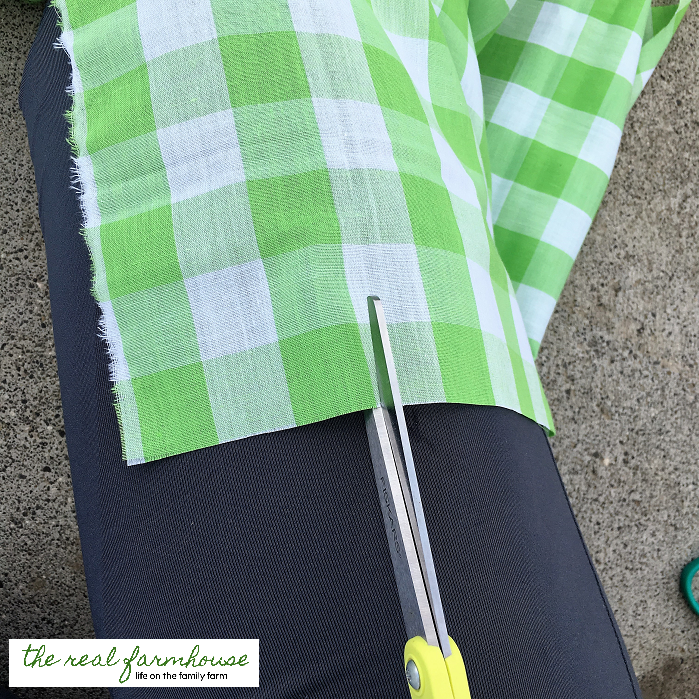 Ripping the fabric made it much faster and the kids had a blast helping me tear something.
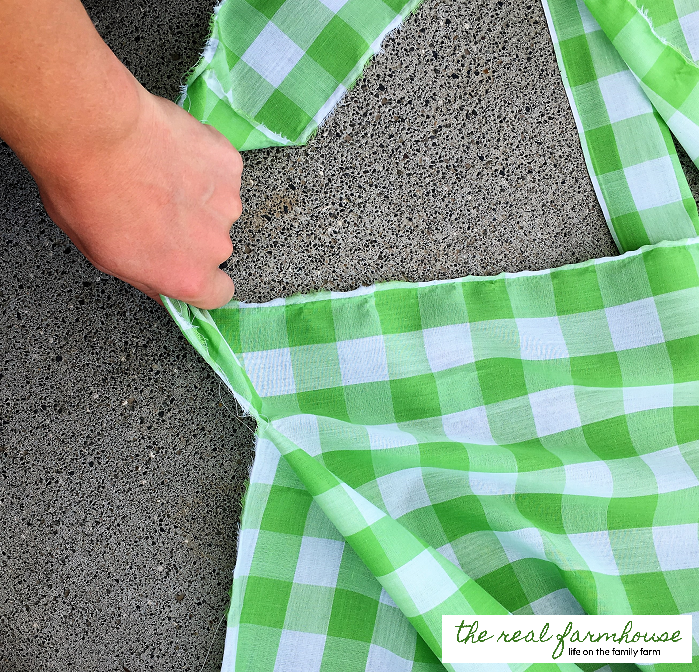 We all tore fabric for a few minutes until we had a good pile built up. Our fabric was all different lengths so don’t worry if you have different sizes too.
- Now your gonna grab a strip of fabric and double knot it to the trampoline frame.
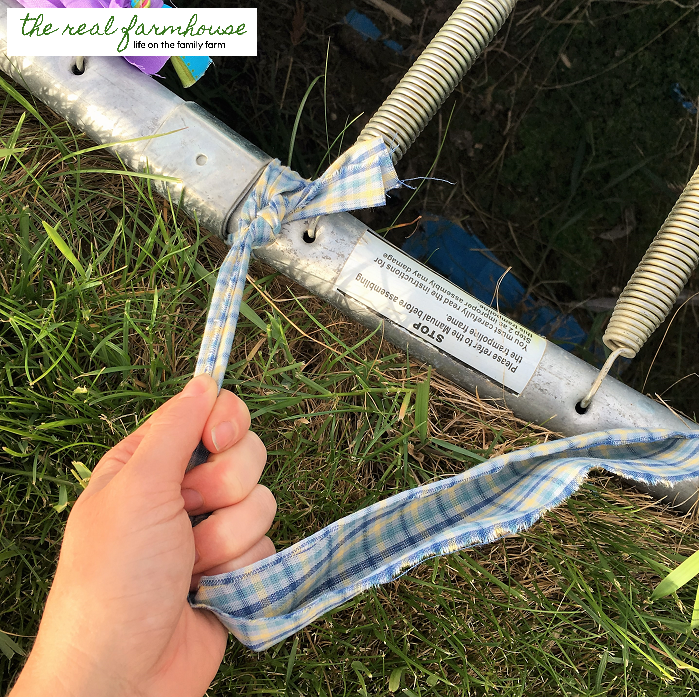
- Pull your fabric tight and take it over the top of two springs.
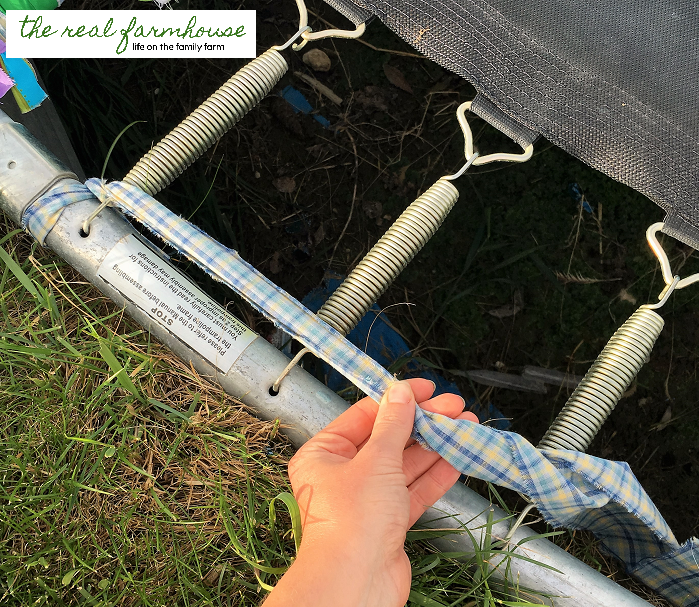 Now take it underneath the next two springs.
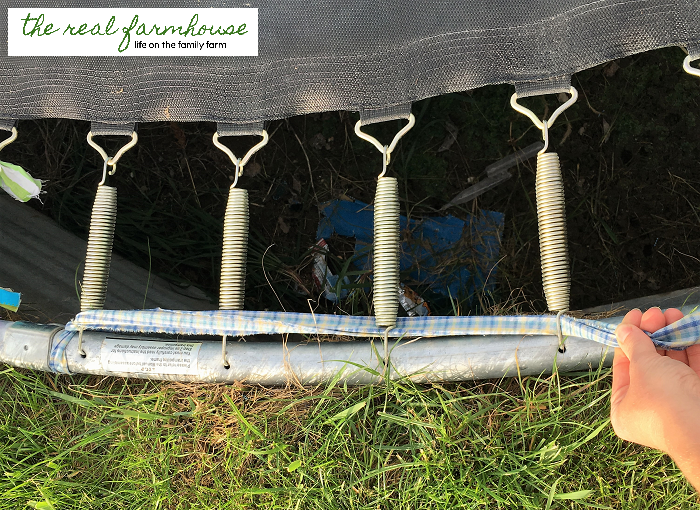 I chose to cover the springs in groups of four because if I needed to remove it to get underneath the trampoline, I didn’t want to have to undo a huge section.
 - Next your going to pull it back the other direction and do the same thing.
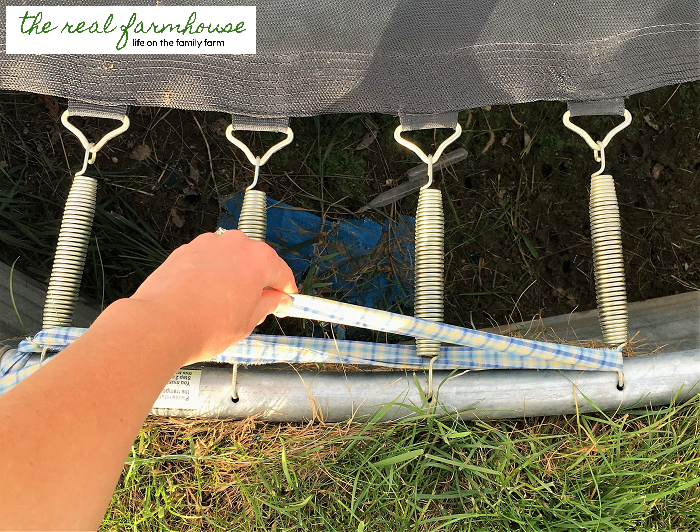 Over the first two springs, and under the next two. This creates a tight weaving pattern so when the kids step on it they won’t fall through.
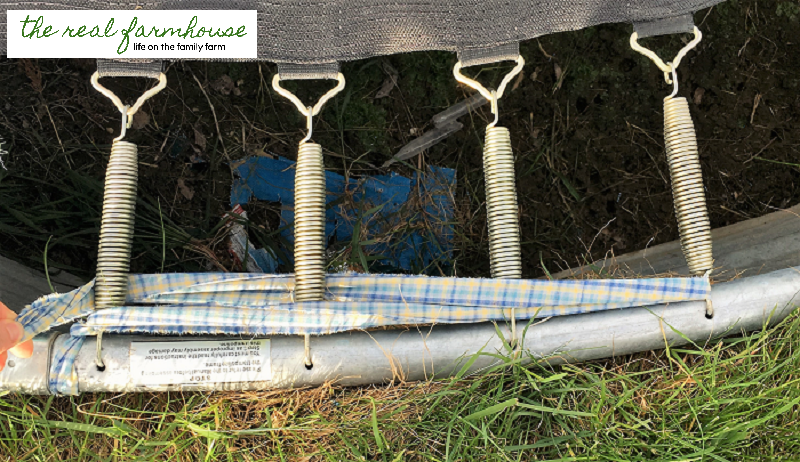
- When you get near the end of your fabric strip, just tie on the next strip. Alternate the colors so you get a good mix.
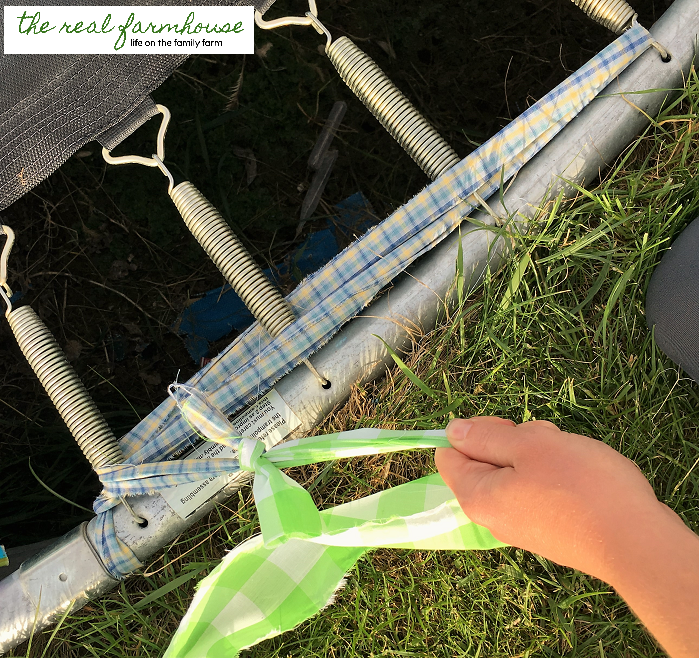
- Keep weaving over two and under two until you have covered the springs completely.
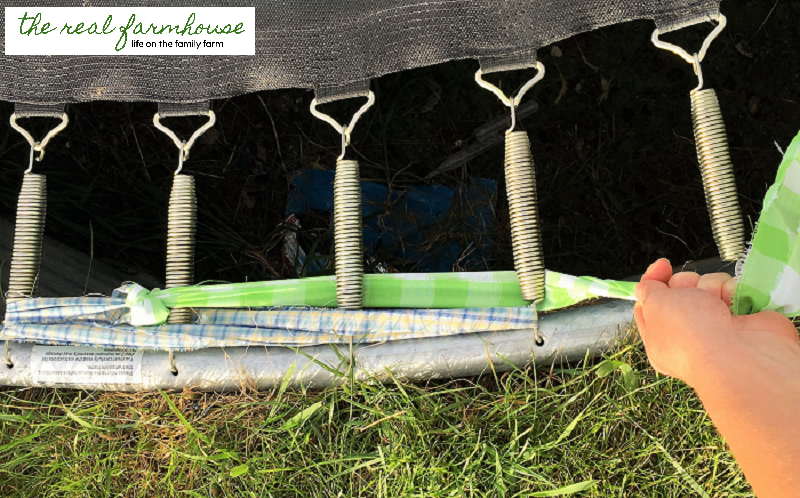
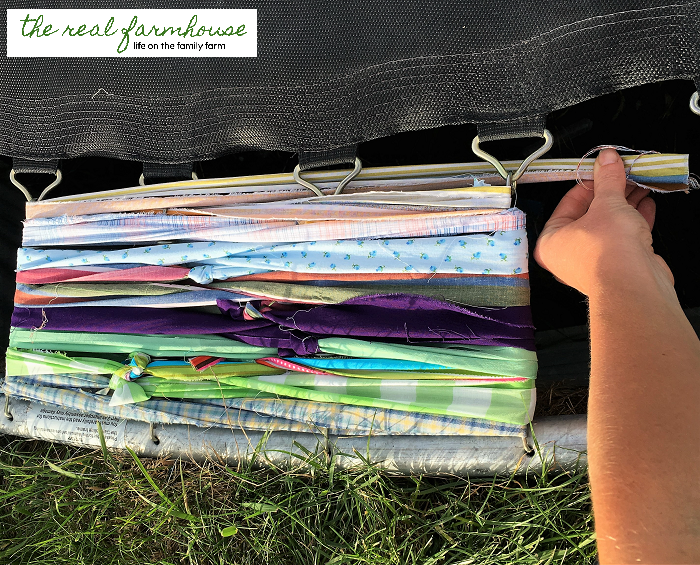 Then double knot it again, this time to the trampoline hook.
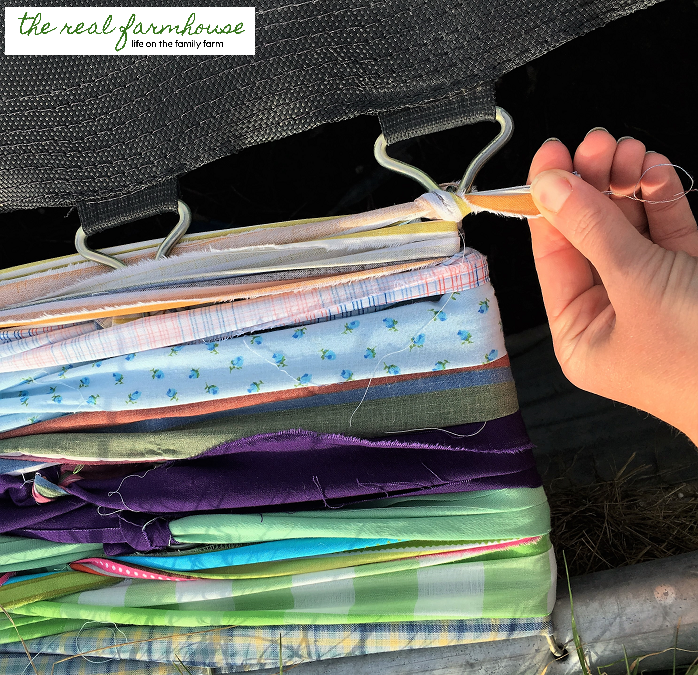
- Now keep going and going and going and going …… It took me a few days since I can’t finish anything around here in one sit down.
How do you like it?!?! I think it looks really fun, and it is actually really solid for the kids to stand on.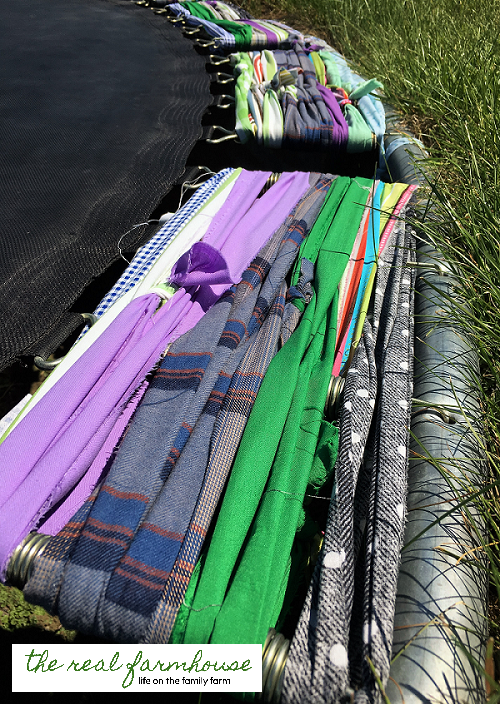
Now I need to go thrift shopping to replenish my fabric collection!
If you try this DIY project at home send me a picture! Maybe I can post it for everyone to see how it turned out.
~Farmer’s Wife


Are there spaces in between sections of fabric that are not covered? Can the kids fall or get it but stuck in there? They look black in your pic.
Yes I left a gap in between each section. It makes it easier for us to reach down and grab things that fall under the trampoline and I also like the way it looked. The kids don’t seem to have a problem falling through, it’s pretty small. And when they do step in a gap, the fabric is a pretty soft cushion.