Alrighty guys, we officially have a WINNER WINNER CHICKEN DINNER of the garden and farm DIY contest. All of the entries were awesome and I seriously want to try every single one! But no, everyone can’t win the highly coveted imaginary high five from me, the blog post dedicated entirely to their project, or the free tablet. So …. without further ado …. the winner is Rachel Stutts and her quick and easy pallet compost bin! Every single entry got quite a few votes actually, but Rachels came out on top. So I will let her explain to you just exactly how she did it, and then the rest of us can have a classy looking compost bin just like hers. And be sure to check out her website Amberburst.com when youre done, to learn more about Rachel.
DIY Pallet Compost Bin
I’m so excited to be able to share the easy DIY instructions for building your own compost bin out of pallets. Thanks to Farmers Wife at The Real Farmhouse for putting on a fun DIY garden contest!
If you are at all interested in composting, but the prospect of constructing or buying a compost bin is holding you back, I just want to let you know that I hear you! I started out small with 5 gallon bucket compost bins, but needed a larger space. When I finally looked into it, I found it quite simple and quick to get a very functional compost bin set up. Originally I scoured Pinterest for compost bin designs, but I am not a very capable builder yet. I’m not comfortable trying to cut and drill and screw. So I decided to venture into the world of DIY pallet projects.
Where do you get pallets?
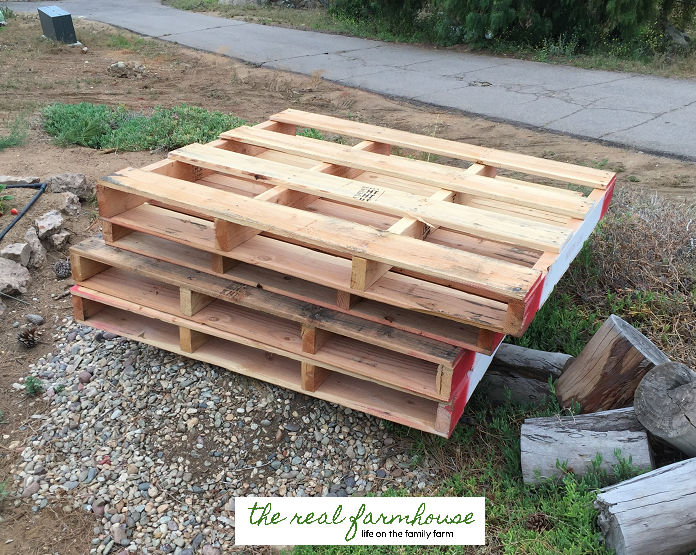
Local small businesses are the best place to look. Larger companies tend to already have arrangements for the pickup of their pallets, but smaller companies may only get a few pallets here and there and then have to figure out how to get rid of them. I actually asked the Facilities coordinator at my own company, and it was actually one of his quarterly goals to try to get rid of them!
In the end, I was even more fortunate, as my family is in the middle of major construction on our house. There were pallets left over from some of the building materials. One of the main things for this project is to look for pallets that are the same width. They can be slightly differing lengths, but having the same width will allow you to create a nice square bin.
What do you need?
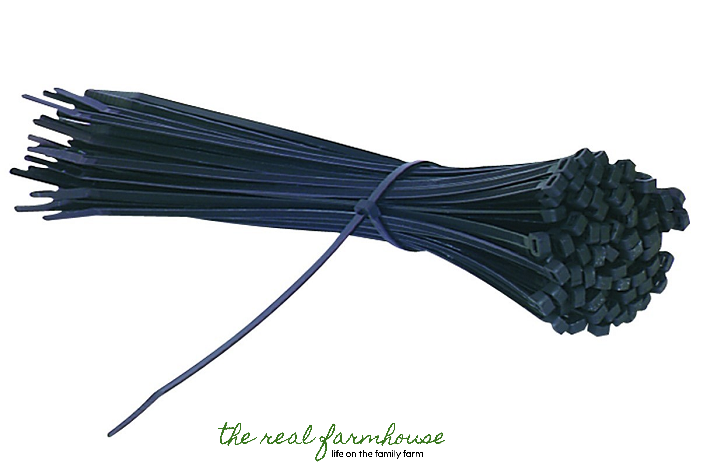
All you need is 4 pallets and about 18 12″ heavy duty zip ties. Make sure you have a nice level spot for the compost bin, then just start assembling. Start by attaching two pallets together with the zip ties to form a 90 degree angle (thread the end of one zip tie into a second zip tie to make them long enough to wrap through both pallets.)
Continue doing this for the other side of the bin.
Only attach the front pallet to one side as you will need to be able to swing it open. I found that I could still attach it rather tightly with the zip ties and it would still be able to swing open. It doesn’t swing as nicely as having a hinge, but it does work. If you are more inclined to wood construction, you could easily attach the pallets together with screws and add a hinge to the front. I personally like that this bin is also very easy to take down if I decide to move its location or upgrade to a multi-bin system.
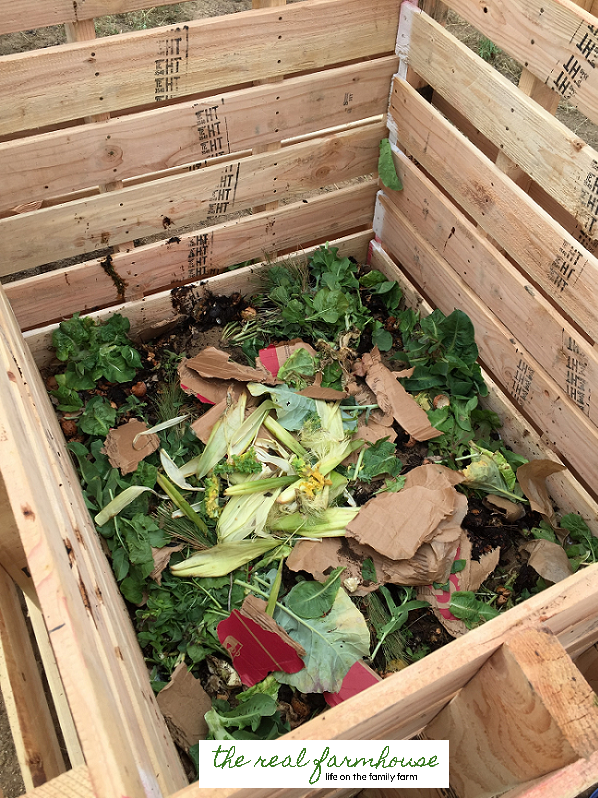
That’s it! Once constructed, start layering your materials making sure to add water to each layer. I started with a bottom layer of shredded cardboard and then added on my kitchen/garden waste along with some regular dirt. Now I even get horse manure from my neighbor and add straw to balance out the greens.
Alright who is headed out to look for some pallets right now? I have a pile in my yard and my new house needs a compost bin, this might just be the one!
Thanks Rachel! I know a lot of people loved your DIY project because so many people voted for it.
Rachel gardens in zone 9b so she will probably have great gardening and composting advice all year long. Be sure to check out her website Amberburst.com for more cool stuff from her. I actually just read her post on how she saved her indeterminate tomatoes after she unknowingly planted them in WIMPY cages. I was super interested to see what she did because that is a tough problem to fix! I’m so glad she was able to save her plants from laying helplessly on the ground. CLICK HERE to read that post. And if you have ever suffered from that problem too, you better check out my DIY $6 Beefy tomato cage tutorial so you don’t run into that catastrophe anymore.
Get composting people!
~Farmer’s Wife
P.S. CLICK HERE to read the 3 big rookie composting mistakes I made, so you can move straight to black gold master.

